Showing posts with label hole in the ground. Show all posts

Wednesday, 24 August 2011

Can't hang around for long

I'm on my way out for a day trip to Portsmouth (to see Mummy) and then to Chichester . . . via Eternal maker (yippee!!!)

I plan to be a good girl - there are two project on the to-do list which need need fabric purchases, so I am taking blocks with me so I can get what I need!

I did get some sewing done yesterday, so here is a quick, photo heavy run though . . .

I started hand quilting the Flying Geese as a sample for next month's museum class

It then occurred to me that if any one comes in September but hadn't come in August they wouldn't have a foundation pieced block to quilt, so I'd better make a few just in case.  So I made these

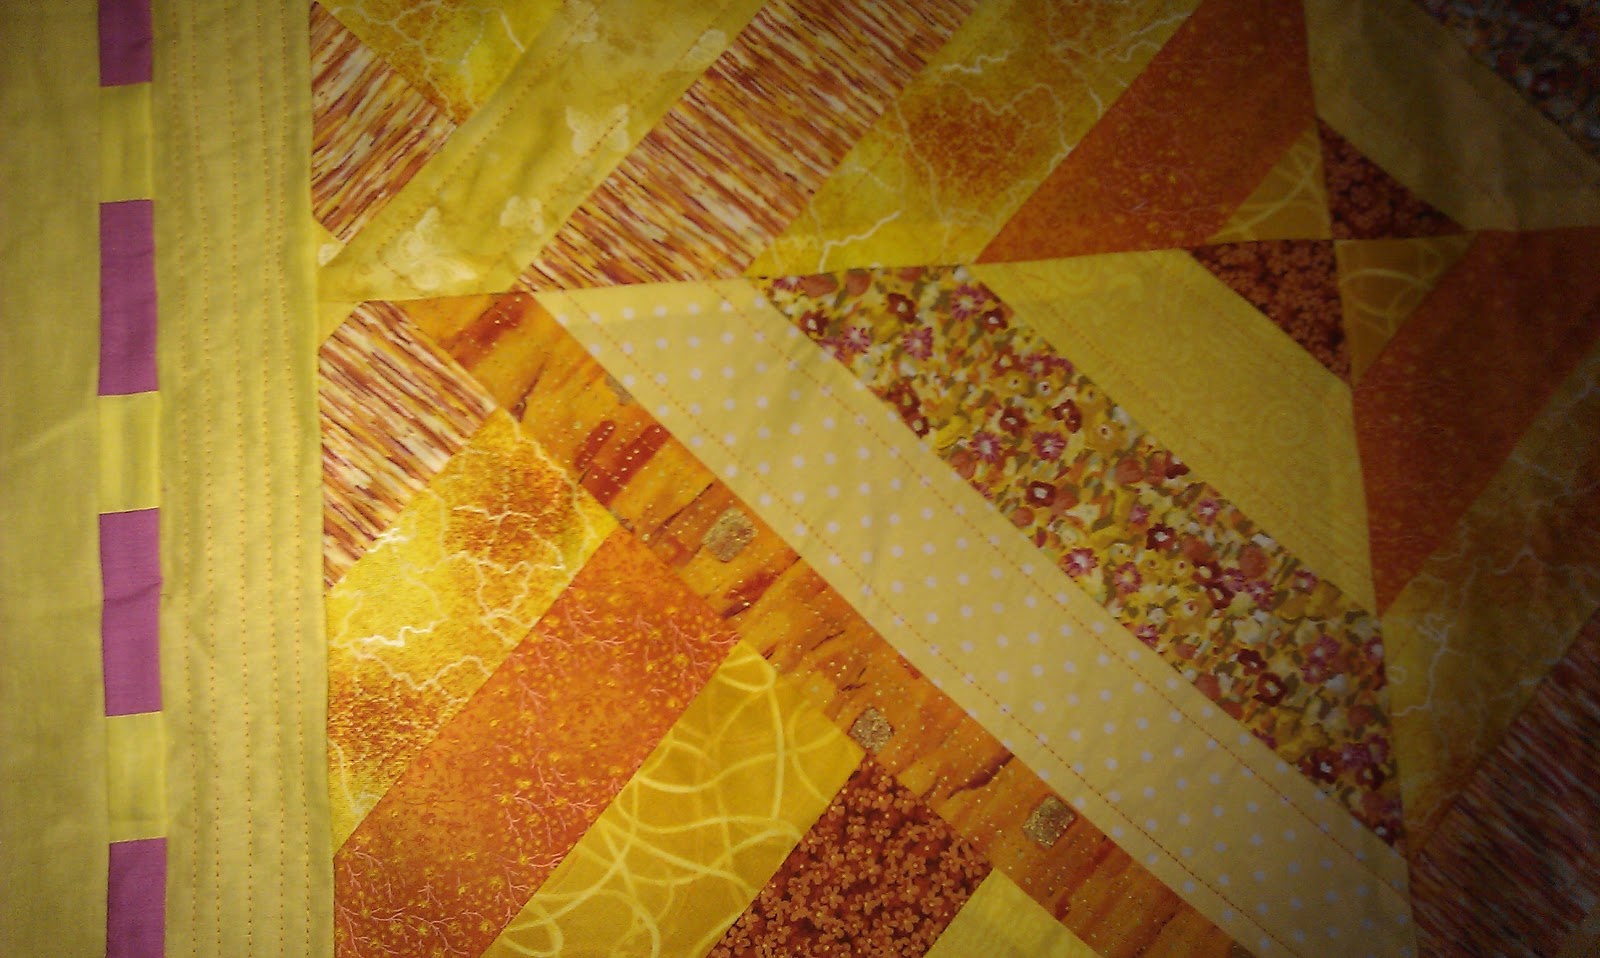
(I'm enjoying foundation piecing much more than I thought I would)  I then wondered what I would do with any left over pineapple blocks.  That's when I realised that the fabrics had all come from fabrics planned for the Citrus Hole in the Ground top.  I made the centre piece ages ago, but it was very big, and very square.  I'm not a great fan of square quilts, so I though I could add some strips to it.  I had added some pink and orange chequerboard blocks to one end, and need something yellow to finish that off, but still have loads at the other end . . .  the pineapple blocks will be ideal!

I am attaching the strips to the top and to a fleece as I go (see my lazy quilt as you go method here) and have done some echo quilting and free range line quilting.  Now I have to wait until mid September to see which pineapple blocks are left for me to use!
I have pinned one diamond strip to the Swirls, and love it.  I think this will become a rectangle too, with diamonds just top and bottom.  Where I want to hang it wont take a square.

I pinned and tacked and eventually stitched nephew's shirt.  I'm taking it to mum's for approval before I press and topstitch it.  Not perfect, and a bit messy on the inside, but I'm quite pleased with it, and he cant 
complain!!!

My replacement 1/4" foot arrived so I was able to finish the pinned section of the Texture quilt.  Now I need to cut and fix some 2" strips of wadding in the wide sashing, then I can start on the final strips for the top and the bottom as we look at the photo

Finally a photo of the most innocent cat in the world:

"What me, pull the washing off the line?  Nah, wasn't me.  I was just sitting here, minding my own business, when a gust of wind blew the quilt cover off the line and pushed it under me.  And even if it didn't happen that way, you wont mind washing it again as you love me"

Saturday, 21 May 2011

A day at the museum

Friday was my afternoon to teach Fun with Fabric at Chertsey Museum.  Four ladies attended for at least a second time, and three new ladies too

Jenny brought her denim bag from last month which she finished for 'homework'.  I love that these ladies, mostly over retirement age, bring along their creations for 'show and tell', just like the 5 year olds at school do!!!
Most of the ladies decided to have a go at paper piecing: pentagons or hexagons.  Barbara made a hexie pin cushion, Jenny and I went for pentagon balls, while Iris, Frieda and Denise went for grandmother's flower design either as a mug rug or a wall hanging.

Deborah didn't fancy this, she's done patchwork before, so she had a play with the gingham fabric I'd prepared for smocking.  I didn't get any photos, but she did a great job . . . and now we've decided that we'll all going to try smocking next month, so I'd better get some more gingham!

Hole In The Ground Panel
When I got home I managed to do some work on my yellow, orange (and now pink) Hole In The Ground.  (I think of it as this name, but Google couldn't find a block by this name, so if you have a proper name for it, please let me know!!!)

It was really easy to make the centre piece: It was from a jelly roll, so there were lot of fabrics pre cut to 2.5 inches x width of fabric (about 42 inches)
  • I joined enough strips to make a flimsy that measured 42 x 21 inches, then cut that in half, so I had two striped pieces each measuring 21 x 21.  
  • I put these two squares one on to of the other, right sides together, one with the stripes going vertically, the other with horizontal stripes.
  • I stitched all abound the two blocks (usual seam allowance) joining them together.
  • I cut the resulting block, diagonally, from corner to corner, like an X,
  • I then opened out the 4 triangles into squares.  
  • They were then twisted to create the design above.
This piece was started pre-blog, in oranges and yellows, with just a tiny hint of pink, but I have some great fabric that I want to add that has a fair amount off pink.  I thought I would introduce some pink, before I introduce loads of pink!

Now off to Windsor Library for the next class!!!