Showing posts with label Fiona. Show all posts

Friday, 13 October 2017

2017 Wk 41 Knitting and Stitching Show

I had a lovely day out today with my friend Jane. It was supposed to be Jackie but she had to cancel her trip over so Jane came to keep me company!
I *may* have done a little bit of shopping, and we did two classes. In one we were aiming for this gorgeous owl

Jane finished hers tonight, and he's looking fab

Mine isn't looking quite as detailed!


My shopping haul . . . Fabric, bonding powder, pants, safety pins and a bracelet

The pink bowl and the to-be-finished owl were made in classes, and the felt sheets and felted pebbles were simply because they were gorgeous and cheap!

I also bought some fun vinyl £1 notes! I think I feel some zippy pencil cases coming up. (The notes were <£1 each)

And it was great to see Fiona's 'book cover' on the wall

In other news . . . Plum's daughters' school is contributing to the 70273 project. You can read about the project here but in summary it is to remember physically and mentally disbanded people murdered by the Nazis. . This project aims to gather 70,273 blocks of fabric, marked with two redcrosses to commemorate the number of physically and mentally disabled men, women and children who were murdered between January 1940 and August 1941 in the Aktion T4 Programme - a largely unrecognised atrocitywhich only received a memorial to the victims in 2014.
The two red crosses represent the marks made by the assessing Doctors as to whether the person was deemed ‘unfit’ or an economic burden on Nazi society. It is such a simple symbol, and in this project, the simplicity with which someone could sign someone’s life away is turned into a symbol of love and strength. The white fabric represents the sheet of paper that their death sentence was signed on. Seeing the crosses stitched together sends a powerful message of tolerance, community and love. Its impact comes from the huge variety of these two red marks - each beautiful in their own perfectly imperfect way.

I have done some blocks for the girls to add to their contribution

Avril gave me a lovely birthday pressie - a really pretty note book and some lush buttons!

Saturday, 1 October 2016

The one where I got gifts and made a gift

We went out for a meal in the week, a lovely Indian meal in the village with the girls and their boyfriends. The boys both gave me a gift - really perfect gifts - from Harry on the right and from Jim on the left! (although I think the girls had more to do with it than the boys - can you imagine them giggling as they made the choices!)

The very lovely Fiona (http://celticthistlestitches.blogspot.co.uk) has just become a grandma - congratulations Fiona! I've made a pressie for the little lad, but I'd like it to go in the post next week. It isn't finished as I don't have the time at the moment, but I know she has the ability to finish it (and to a better standard than me!) and he will get it much quicker! All I can show you now is this bit

I posted a gift to another baby earlier this year, and got this pic a few days ago from her daddy


Love it!

If you are NOT Fiona you can scroll down to look at Cormac's pressie:

Not you Fiona


Tuesday, 19 January 2016

Christmas Crafting

I know some people are really organised, getting gifts made well in advance of each Christmas. My friend Fiona is one of them. She is one of the hosts of  Ho Ho Ho and on We Sew - an annual event to encourage Christmas gift sewing all year.


The following post may have a few elements of cheating, but I have today made a Christmas present!

My brother and his family live in Australia, and in a few days time my mum is on her way to see them. I have bought gifts for my brother and his wife, but my niece and nephew (age 9 and 7) are getting crafty gifts.

India's is a doll for her to make. I bought the panel f(possibly from Spoonflower), and I'm sending a little sewing kit too so she can cut and sew the printed pieces, with a bit of help from mum. Sewing related, but not a stitched present.


Marley's is a dinosaur, but it's a bit more complicated to make, so I have done the cutting, and the main sewing, so he and mum can stuff and add some applique if required. It started as a panel like this

And now looks at bit like this

I know it isn't finished, but for the sake of mum's packing it has to be able to be sent flat, and I'm hoping he will enjoy stuffing and finishing it, and sewing the ruff on where he thinks it belongs.

Although it clearly isn't a "finish", and is late for 2015 rather than early for 2016, I hope Fiona will see it as a linkable finish as its all I'm going to do to it - hopefully he will enjoy finishing it, and next time I'll leave him to make his own pressie!

Monday, 21 September 2015

Quiet? Or Quite a Lot?

I haven't blogged for the last week or so as I didn't feel as if there was much to blog about, but that really isn't the case!

First let me introduce you to my new babies:

Possibly to be christened Lemon and Sorbet, these were an early birthday pressie from the family, aren't they gorgeous!

Next I can show you two exciting postal packages:  Not exciting on the outside . . .

But awesome on the inside


A free sample from Spoonflower (thank you Kathyfor giving me the head's up) and a fab goodie bag from Just Jude as I won a giveaway on her blog - I'm really looking forward to some therapy colouring with this fabric.

I have done some sewing too. Renee (Wren) gifted me some unwanted charm squares and they included some sock monkey fabric.  Inspired by Fiona's recent quilt I bordered the charms with two sides of 2" and two of 1.5" strips. There were 23 blocks which didn't quite make a top, so I also embroidered a sock monkey to fit a double block, so it will look something like this

Last Monday, at Richmond and Kew quilters, we played with some thermofax screens, and I came home with these blocks.

I wasn't sure what to do with them, so I have made up some zippy pouches.


One has gone to a friend, but the others will go back to R&K group to be sold or our craft stall at next month's exhibition.

Thursday, 3 September 2015

Thursday's Thank Yous!

I recently showed a photo of Lisa at the North Point of Australia. She travelled there in one of these 4x4s:

it was well equipped for the outback with a winch and a couple of spare tyres, and built for off-roading, and with a driver who had planned well for all eventualities. However, he decided he wasn't coming back straight away, so she headed south in the *other* 4x4 - with a car and driver that was none of the above! She described the red 4x4 as suitable only for carrying shopping up a bit of a steep hill, driven as bought from a car salesman, with no outback consideration or modifications worth speaking of.

What was even more scary was that he seemed to have no idea of him limitations or that of his vehicle. He wanted to revisit sites when previously the other car had had to winch him out of problems, and Lisa watched him use 10 litres ( 17 pints?) to wash up - obviously water wasn't a valuable asset at all! The red car gained some sort of notoriety on the point. So when they stopped for supplies and Lisa asked a lady if she knew of anywhere Lisa could stay if she left the car, the lady made a few phone calls and saved Lisa from the "moronic tw*t"

So thank you to that lovely lady, and thank you to the incredibly kind people at the Moreton Telegraph Station who took her in and gave her bed and board in exchange for a few hours work a day for six days

They also arranged for her to continue her journey back to Cairns on the mail plane:

Over amazing views, so thank you to the pilots!
(Great Barrier Reef)
(Moreton station and airfield)
(Bush fire)

Another bunch of thanks is to Jackie and Amo who emailed me regularly with reassuring words to keep me this side of sanity while I waited for Lisa to return to civilisation, and Wifi!

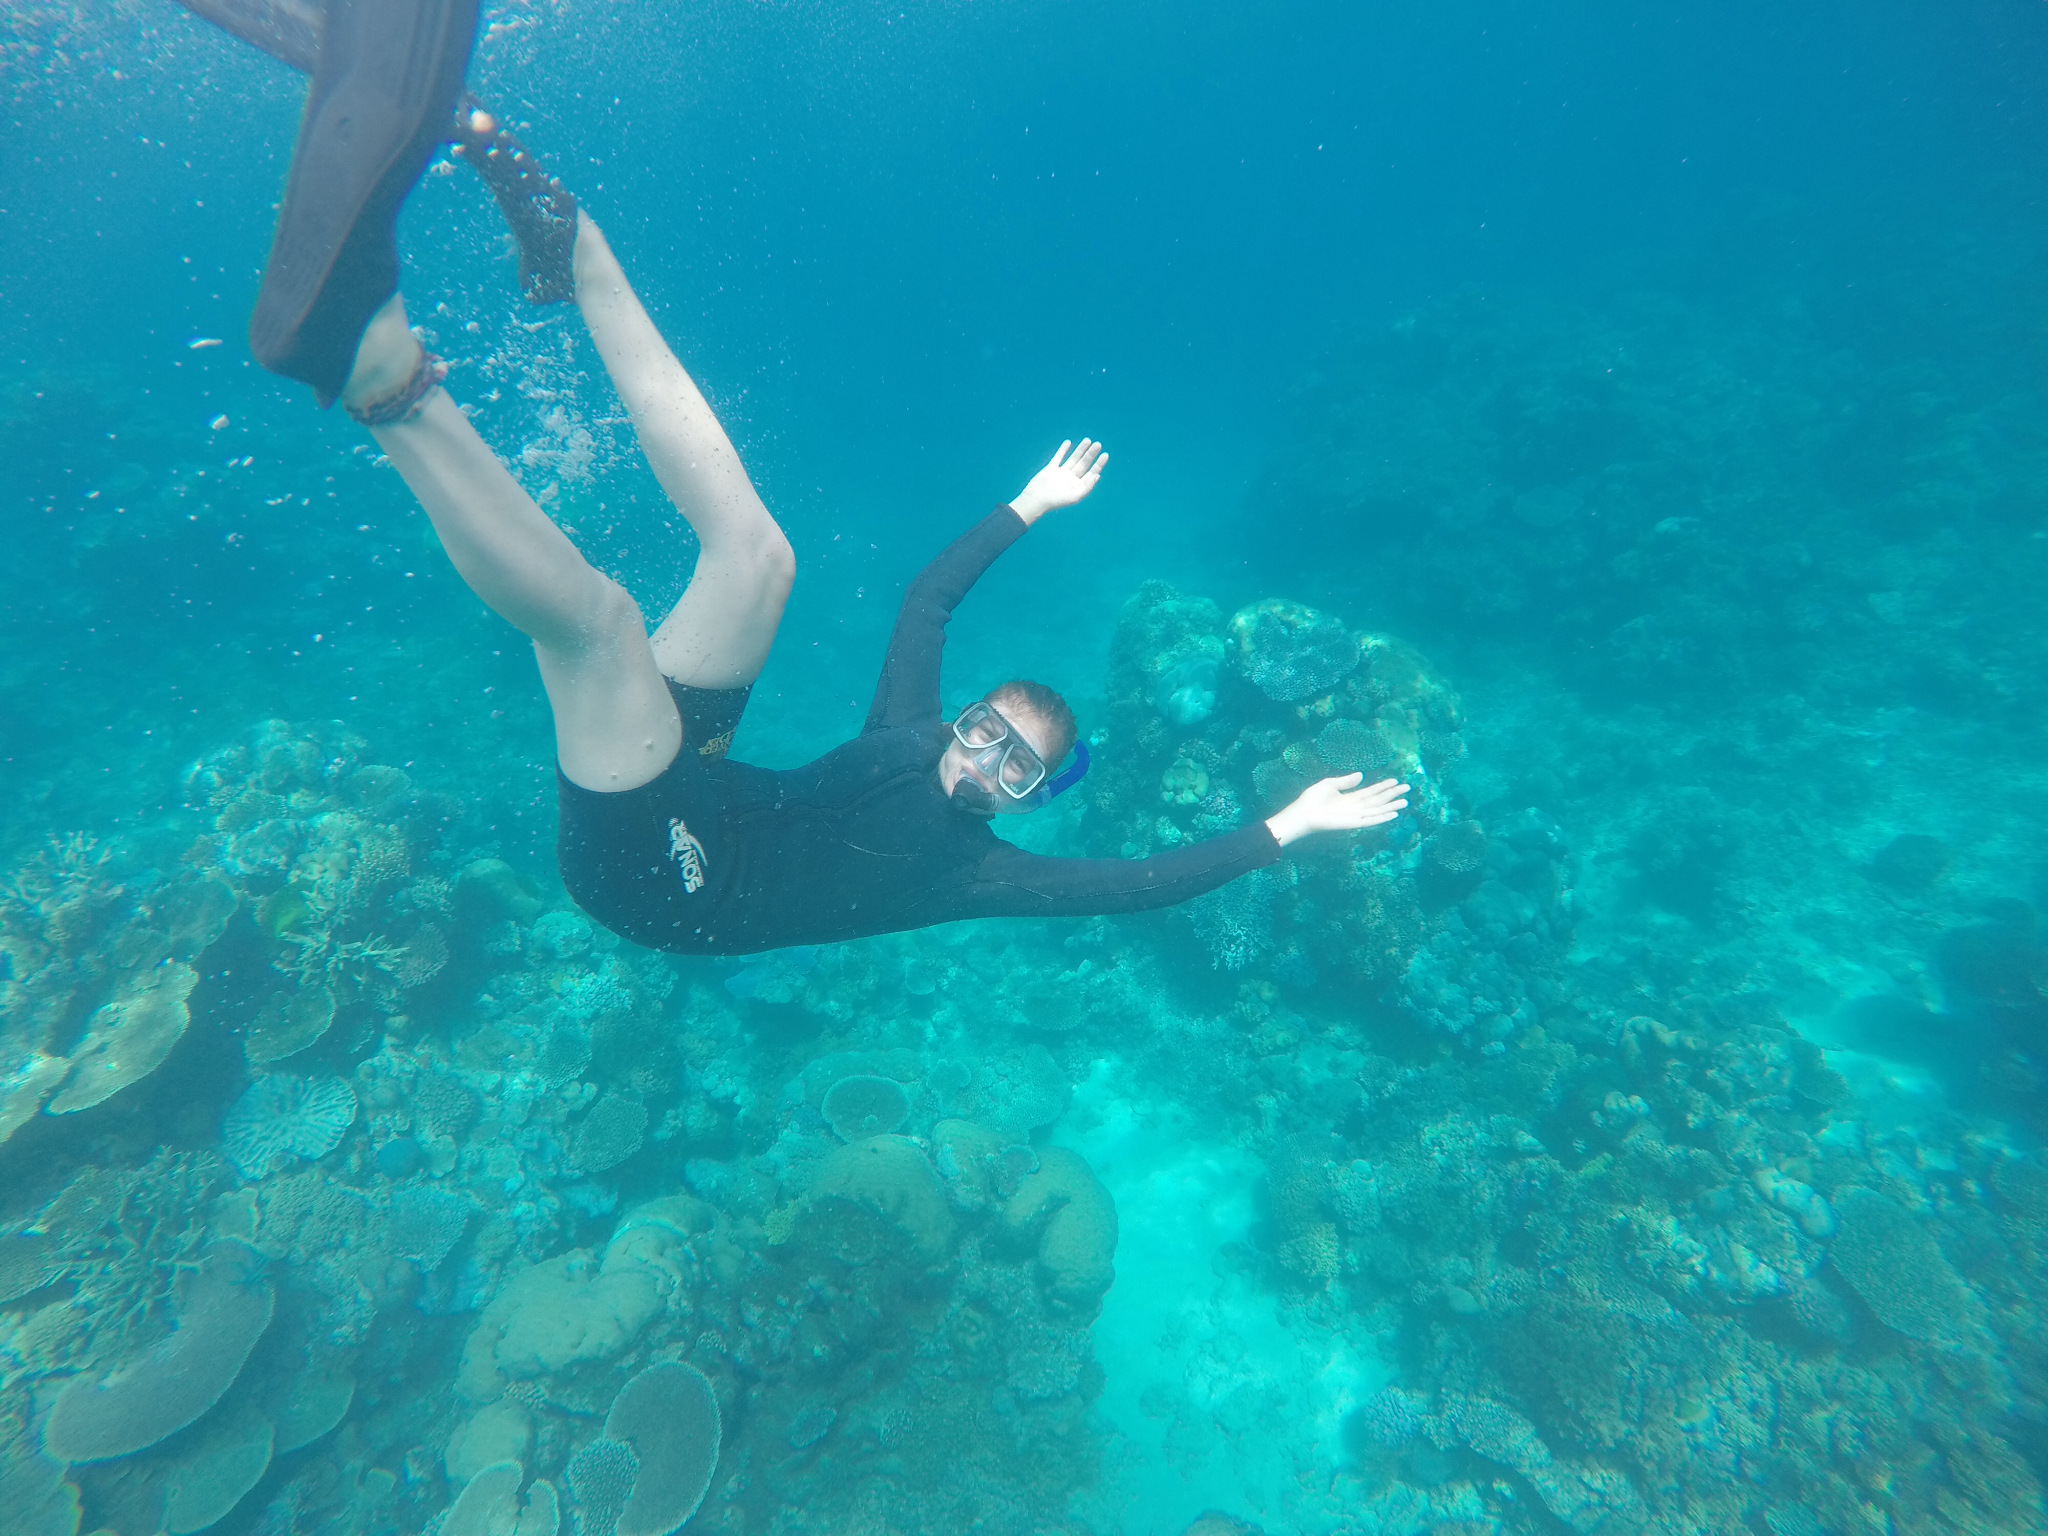
(I think Lisa's recovered from the scare - she dived at the Great Barrier Reef today!)

And then today I got an email from Fiona telling me that my link on the HoHoHo be-ready-for-Christmas project was the winner of a gift voucher from the Village Haberdashery, so thank you to Fiona, and to Annie at VH too!

Now, if you'll excuse me, I need to spend some money!!!! I have long lusted over a Kona colour card, so I think I'll treat myself! I can then match fabrics to some of these zips that just happened to arrive in the post a few days ago!
Thank you for reading this!!!!


Monday, 24 August 2015

Linking at Last

I keep meaning to link up with Fiona's "New to Me" and her "Ho Ho Ho and on we Sew", and I'm finally remembering to do so!

I have blogged about this before, but here is my Ho Ho Ho offering:
 

Hand dyed / marbled fabric sewn into zippy pouches for friends for Christmas


And for "New To Me" I'm offering these, some already posted, some new

Peg bags made for a friend: the opening is under the bone


La Passacaglia

Tool store / pin cushions

And binding caddy and hexie caddy


Wednesday, 6 May 2015

Congratulations!


You may recall I hosted a Ho Ho Ho and on We Sew linkie last month.  Thanks to a lot of hard work from Fiona and Paula, the people who finished something Christmassy and linked up were in a draw to win this fab tapestry:

 Congratulations to Sandra who was the winner - and who made these great stacking baskets

Wish you'd joined in? The next post in the series is from Karen at Practically Pippi, and should show upon the 18th May.  You can see the whole 2015 schedule here


Saturday, 18 April 2015

Christmas Crafting


Some of you are new visitors, popping over from the Ho Ho Ho and on We Sew link party - welcome.  Others are regular visitors - and if you haven't yet met Fiona and Paula and the other Ho Ho Ho-ers, do pop over and make their acquaintance.

They are on a mission to put a stop to the last minute sewing that all too often happens during December, and are encouraging us to take it easy, making bits and pieces throughout the whole year.

For those of you new to the Link Party, the posts are scheduled for the 18th of every month and the Link Party remains open until the end of the month to give our fellow bloggers lots of time to link up their Christmas and Holiday makes.

As well as encouraging us, there is a whole schedule of posts of Christmassy ideas to help us out
JanuaryCeltic Thistle StitchesFionahttp://celticthistlestitches.blogspot.com
FebruaryThreading My WayPamhttp://www.threadingmyway.com/
MarchWonky PatchworkSallyhttp://wonkypatchwork.blogspot.co.uk/
AprilSLIK stitchesBentahttp://slikstitches.com/
MayPractically PippyKarenhttp://practicallypippy.blogspot.co.uk/
JuneCharly and Ben's Crafty CornerRuthhttp://benandcharlyscorner.blogspot.co.uk/
JulyWeekend DoingsMarthawww.weekenddoings.blogspot.com

Patch the GiraffeChelseahttp://patchthegiraffe.blogspot.com/
AugustSunshine Through the RainDeborah http://sunshinethroughtherain-deborah.blogspot.co.uk/
SeptemberPractically PippyKarenhttp://practicallypippy.blogspot.co.uk/

Party of Eight: Our StoryGinahttp://partyofeightourstory.blogspot.co.uk/
OctoberElla and Nesta's Little RoomNesta http://ellaandnesta.blogspot.co.uk/
NovemberRose & DahliaJoannehttp://rosedahlia.blogspot.co.uk/
DecemberMud, Pies and PinsPaulahttp://www.mudpiesandpins.com/

If you look careful at that list, at just about now, you'll see someone called Benta at SLIKstitches is due to share a Christmassy project . . . so I guess I'd better get on with it!

I have made a calorie free Advent Calendar - after years of chocolate ones when the girls were younger I think this one is much kinder to my waistline!
 

I used 1/2 yard each of three fabrics, plus extra to bind.  I used fabric that had been cut into charm squares (5"x5").

FOR THE COUNTDOWN NUMBERS
If you are using yardage, initially cut 12 squares from one fabric, and applique, embroider or use fabric pens to add the numbers 0 to 9, plus an extra 1 and 2.  If you choose to use bondaweb, or heat&bond or similar you probably wont need to stitch them down.  I am lucky enough to have an embroidery machine so mine have been machine appliqued.  Make another piece, a rectangle this time, twice the size, with the word "sleeps" on it using the same method

Starting with 1 and 2, place the two numbered pieces right sides together.  Pin two sections of thin ribbon a little bit in from the top corners to make the hanging loops.  These need to be *between* the two parts, touching the right side of both fabrics, hanging inside (so you can see the bits shown here in black, but the grey section isn't visible unless you look between the two pieces of fabric)


 Stitch most of the way round (including all 4 corners), but leave an opening for turning

Stuff with a handful of toy stuffing and then stitch the opening closed.  Continue with the other numbers, pairing 3 & 4, 5 & 6, 7 & 8, 9 & 0, and another 1 & 2 and finally pair "sleeps" with another piece of fabric

FOR THE WALL HANGING:
As I had charm squares I used six greens charms along the top and bottom, and I used a green, four creams and another green for each of the middle rows (16 greens and 8 creams in total), but you could use yardage or scraps.  Mine finished at about 27 x 17½" 

I spray basted it onto wadding (batting) with more fabric on the back, and quilted it with free range lines from left to right.  I used green thread for the green areas and cream for the cream areas

I arranged two number 'cushions' and the 'sleeps' cushion to a suitable place in the centre panel and marked where the top of the ribbons should be, and I stitched buttons in the right places.  
 
I also added six pairs on buttons below to park the unused cushions

I folded two charm squares in half diagonally and basted them in the top right and top left hand corners.  I then added the binding to the wall hanging including the triangle edges.

I could then use a stick the same width to hang it on my display hanger


TIPS FOR SEWING ON A BUTTON:


Start with one piece of thread, but thread both ends through the needle.


This means you can use the loop at the end to anchor the thread - no knot required


You want a bit of space behind the button, to allow the ribbon to fall snugly behind it.  You can create this by including a pin on top of the button while you are sewing.  Stitch from hole to hole half a dozen times over the pin


Then remove the pin and wrap the end of the thread around several times, between the button and the cloth, to create a shank.  Knot the thread on the back and hide the ends in the fabric


Now the ribbon will fall easily behind the button.


WHAT DID I LEARN?
I used elastic to hang up my little cushions - and I'm suggesting you use ribbon.  It seems the needle takes the path of least resistance and that will be either side of the elastic, not through it, so any pressure on the elastic will cause it to pop out!

FINALLY

If you are inspired by this or any other Ho Ho Ho and On We Sew post, do link up with Fiona and Paula - there are goodies to be won!!!

I have had major issues with adding the links - Fiona has been very patient but I.Just.Don't.Get.It!!!  This post is set to go live at midnight my time so I wont be checking it until 8 or so hours after that.  If the following looks fab, it's thanks to Fiona - if it looks like gobbledegook? Blame me!


This month's linkup is kindly sponsored, thank you very much, by

and the fab prize is this:


Thanks to all the regular sponsors too


Thank you to Fiona and Paula and all the other Ho Ho Ho-ers