Showing posts with label FQ bags. Show all posts

Sunday, 23 November 2014

Recent Round Up

Life seems to be about choices - do I choose to sew? Or choose to blog? The choice has been "sew" for the last few days, so I thought I'd show you what I've chosen to sew:

I made some bags for a friend who runs a weekly raffle at a club she runs (slimmingworld, slowly but getting there, thanks for asking)

And I joined the Magna Carta ladies - we started putting the blocks together:
 isn't it looking fab!

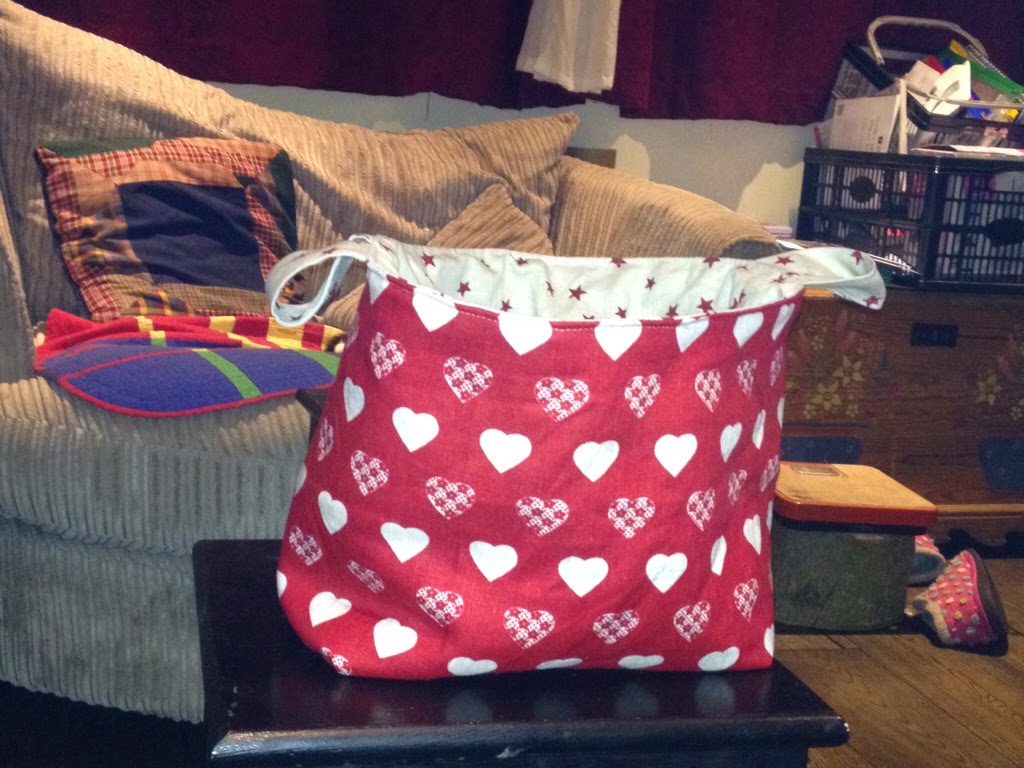
And I made a basket


In other news, Lisa is having fun being a tourist in New York


Same choices next week . . . Unless I can choose not to work?
 Posted with BlogsyPosted with Blogsy

Saturday, 21 December 2013

Feel Good Friday

School finished for the year on Friday, at lunch time, and I left (with a lovely haul of goodies) and went to Chertsey Museum. The Fun With Fabric ladies showed off their fab button necklaces 

And each made a Fat Quarter bag

Lovely afternoon 

Sunday, 8 December 2013

Chocolate cache

Having made a number of draw string bags for mini first aid kits, I carried on making them

And filled them with a hoard of gold coins (oh ok, chocolate in gold foil) for friends' Christmas pressies. With no raw edges these are lovely bags whatever size you make them

Wednesday, 27 November 2013

Inspired Ideas

A number of my friends have asked me, over the years, for *very* basic sewing help, and it transpires that people exist without so much as a needle and thread - I know, it beggars belief doesn't it!

I decided that group of friends (who luckily don't visit this blog) should be introduced to this wonderful world whether they like it or not, so I have been collecting stuff for a sewing kit

 or two or three
 

They should be useful, but look boring, but my thinking kinda stopped there.  Then when I was blog surfing, I saw that the lovely Plum has made some Christmassy Pouches, and that gave me the inspiration I needed - not that mine are anything like hers, but I hadn't thought of making a pouch for the sewing kits.

I used the Fat Quarter bag method that is my go-to draw string bag, but reduced the size


So that the sewing kits will fit inside

I made quite a few

And now just need to get some thin blue ribbon to finish them off

Inspired - thanks Plum

Sunday, 3 March 2013

Building A Box


I did some playing today: and built a box

I started with 2 Fat Quarters, and cut two long strips from each (4 inches wide, by the length of the longest side, about 22 inches)
[Two FQs will make two boxes]


I cut each strip in half, and then I arranged four pieces into a cross shape like this

I stitched parts 1 and 2 together, and then parts 3 and 4 together

and then I stitched the 1&2 unit to the 3&4 unit.  I did the same with the second fabric, but actually had to re do the second fabric: as you can see below, the *correct* layout is to have one cross the mirror image of the other

I put the two crosses right sides together and stitched all round, leaving a small opening for turning.  I snipped the corners off the obtuse / external angles, and snipped into the acute / internal angles so I could turn the whole piece right sides out.  I used a chop stick to push the corners out, and then ironed it flat

I slip stitched the opening closed.  To create the box, I needed to slipstitch side A to side B (starting in the internal corner), then stitch side C to side D and carry on with the final two pairs of sides, right sides together

In joining the edges, I slipstitched along the inner two folds, the right sides, (brown in this photo) but for another box I used a whip stitch, I dont think there is much between the two stitches for this. 

This finishes to a box with a 5x5 base, about 4 inches high with a contrasting lining and no raw seams.
Now I just want to work out how I can fold it so I can post it without it arriving looking like a creased rag!

Sunday, 1 January 2012

A finish, an Ooops, and an off!

The Finish:
This pinwheel quilt was almost finished before I went to Oz - just needed the binding to be hand stitched.    Yay - now finished!  This will go to my friend Sue who had breast cancer 15 years ago.  She fund raises at school each year for the local Breast Centre Unit, the Parapet, in Windsor, and calls the fund raising Pink Day - so I thought this would be suitable for her raffle!


The Ooops:
I tried to finish the Christmas tree Jackie sent me last year . .  I had sewn on the decorations, and stuffed it

but didn't consider that the 'branches' would then scrunch together, and all decorations near the middle would vanish into what the family kindly described as tree-bum-cheeks
Drat!  I now need to unpick and move 3/4 of the decorations - that might be a job for next Christmas!

And the Off
I did get all the Fat Quarter bags wrapped up ready for posting

And had great fun taking apart blingy key rings (left), and turning them into crafty key rings (right) - I wish I'd bought some more, does anyone know where they sell them in the UK?

Friday, 23 December 2011

Merry Christmas to all (but no Christmas dinner)

Just a brief post to wish you all a very Merry Christmas, and all the best for 2012.  Thanks especially to all who commented on the previous post - the bags are in their envelopes waiting for me to go to the post office, early next week.


I had an email conversation recently with the Littliest Thistle, Katy, about embroidery (have you seen the blocks she embroidered for her dad's quilt gorgeous) and mentioned that I hadn't done embroidery by hand for ages - sorry Katy I lied, look what I just found . . . my Christmas Cross stitch project

Sister In Law gave me this years and years ago, and I work on it a little bit each Christmas. When finished it will go into a house shaped frame, a bit like a dolls house

The other part of the post title may be explained by this photo of my kitchen
We planned to move the kitchen around sometime, but it would appear that NOW is the time.  Although to be fair, these is never much danger of a Christmas dinner at my house - we graze all day instead!

Merry Christmas ALL!!!!

Tuesday, 20 December 2011

jet lag, and Christmas pressies and a give away

I thought I was over the jet lag after my 13 hour sleep, but the next night I slept from 9pm until 3am, and this morning I slept a bit longer - until 5:30am!  Not impressed!

I did spend some of the early morning time blog surfing - and actually looked at my blog! [I appear to have two pages titled Finished Quilts - I need to sort that out :-] Do you know that this is post # 197 - who'd thunk it? Nearly 200 posts - and 50 followers, I am really chuffed - thank you all!

The extra hours gave me a bit more sewing time too, LOL.  So as I was awake at silly o'clock yesterday I decided to sort out my Australian fabrics.  Some I plan on using in a quilt for me, but others were bought as Christmas gifts for patchwork friends and blog friends.

 As I looked at the various fabrics . . .
. . . it occurred to me that they wouldn't necessarily be of any use to anyone as a FQ - so I decided to make a few Fat Quarter bags (click for link to instructions), and then I started some more, and some more - I feel as if I am working on a production line: there are at least a dozen, if not more!

I am so pleased to have this network of bloggy friends - mostly virtual, but some I have met, some have become family (thank you Jackie for the Christmas card from the Irish Cousins!!!), some really are family (hi to my Mum and Daughter :-) but all are supportive, and funny and helped me feel grounded even while I was away and homesick - So to celebrate Christmas, New Year, 200 posts, 50 followers, a new kitchen floor being laid downstairs and anything else you fancy . . .  to everyone who read and comments on this blog, please comment here, then I'll email you for your snail mail address, as I'd love to send you an Australian Fat Quarter bag.

Monday, 8 November 2010

Slik and Quick FQ bags - a tutorial

One of the nieces in America, Megan, is the founder of her High School's Cancer awareness committee. She has managed to get the soccer players playing in pink socks, and has all sorts of plans for raising money and awareness. I decided to make her some FQ bags to sell as I have some fab cancer themed fabrics.


As these lovely little bags are quick to make (*), and are really neat (and have no raw edges) and just take a Fat Quarter each, I thought I'd include a tutorial on how to make them

They just take 1/4 yard fabric and 20 inches of coordinating ribbon. (*They take about 15 minutes each, but with confidence, finger pressing instead of iron pressing, and sewing the channel with the ribbon in place, can be as quick as 10 minutes each)

Take a Fat Quarter of fabric (this is where a yard or metre of fabric is cut into 4 squarish quarters, as opposed to Long Quarters where the fabric is cut into long thin quarters)

If the fabric is directional, place the BOTTOM away from you, otherwise put the selvedge edge away from you. The fabric needs to be wrong side up. Fold down the top edge about 1/2 inch, 1cm, onto the back of the fabric

Press.


Fold the fabric in half, right sides together, so the folded edge remains at the top.

Stitch the bag into a tube shape, starting 1 inch/2cm from the top. (lock your stitches by stitching forwards a few stitches, then backwards the same number, then forwards again).


Move the tube so that the seam is now going down the centre of the tube, not the side. Press the seam open


Now fold up the bottom of the bag so it is line with the bottom of the fold (not quite in half) and press the fold. (We are still looking at the wrong side of the fabric)


Open the fold, and stitch along the fold mark, locking stitches at both ends.

Now turn the bottom half of the tube inside-out, pulling it up over the top half. Now you can see the right side of the fabric inside and outside the bag.

Using your original top fold as a guide, fold fabric again and pin to make a channel for the ribbon. You will need to unfold the horizontal fold at the seam, and refold vertically first and then horizontally.

Stitch the channel and thread the ribbon through. Tie the ribbon.


Ta Daaaa!!!!!!!

Brilliant for make up, sewing supplies, ballet slippers, medication, kids toys, gift bags ...

(It is possible to make this into a boxy bag, but that introduces raw edges, so you are on your own if you want to do that!)