This post is for a small audience in many ways - a couple of colleagues are not really feeling the fun of home schooling their kids and don’t have a lot of craft resources, whereas, ahem, I do! So the post is kind of for three lovely youngsters!
I have dug out a whole load of supplies from the childminding days (the benefit of being a hoarder) but where as I can safely get the stuff to them, I can’t pop in and explain the crafts: so this seemed the logical place to do just that!
So here we go! Have fun Carly and Lora! Hope something here sparks their imagination! Don’t insist they use the stuff the way I’ve suggested, if anything inspired them to make anything at all that would be great!!!
French Knitting. They might get bored with this but it’s something they can pick up and put down. I found that the easiest way to remember the winding on technique was to have the next peg to be wound furthest away from me and then wind a letter “e” . I have copied the instructions so you each have them. You each have one that has been started - maybe tie something a bit heavy to the emerging tail to help pull the knitting through. Use the plastic needle or a tooth pick to lift the old loop over the new loop. They may not like it at all - not sure any of mine enjoyed it!
Scratchy dinosaurs - probably for B - scratch off the black and reveal bright colours below. Can be done to show detail on the dinosaur or most Sunday school kids seemed to want to remove all the black, there is a wooden pen thing in the box for drawing on the black
Paracord bracelets - you both have some paracord and some instructions, and enough clasps to make a few each. Once it’s set up it’s just a repetitive knot .
Flip flop crafts (sorry only two kits) might be fun for the bigger girls, so one in each box
The
paper based crafts are also one in each box. The square is a mandala kit - the stencils are in the base, the idea is that you choose one design and draw it using the stencil, then move the stencil one notch and draw it again. The roller makes plain paper into embossed paper. Maybe swap when they've lost interest
Bead bugs - have fun, instructions are included
Stamping - I have clearly had phases where I have bought far too many alphabet stamps so you have some each plus some other wooden stamps and some see-through plastic stamps: (these get stuck onto the Perspex block, used and then take them off the Perspex box and stick something else on). Hopefully the ink pads still have something left in them - if they have dried up maybe try with a drop of two of water. I *think* they are washable inks
Weaving coasters. Instructions are enclosed, you can swap after a while if you want.
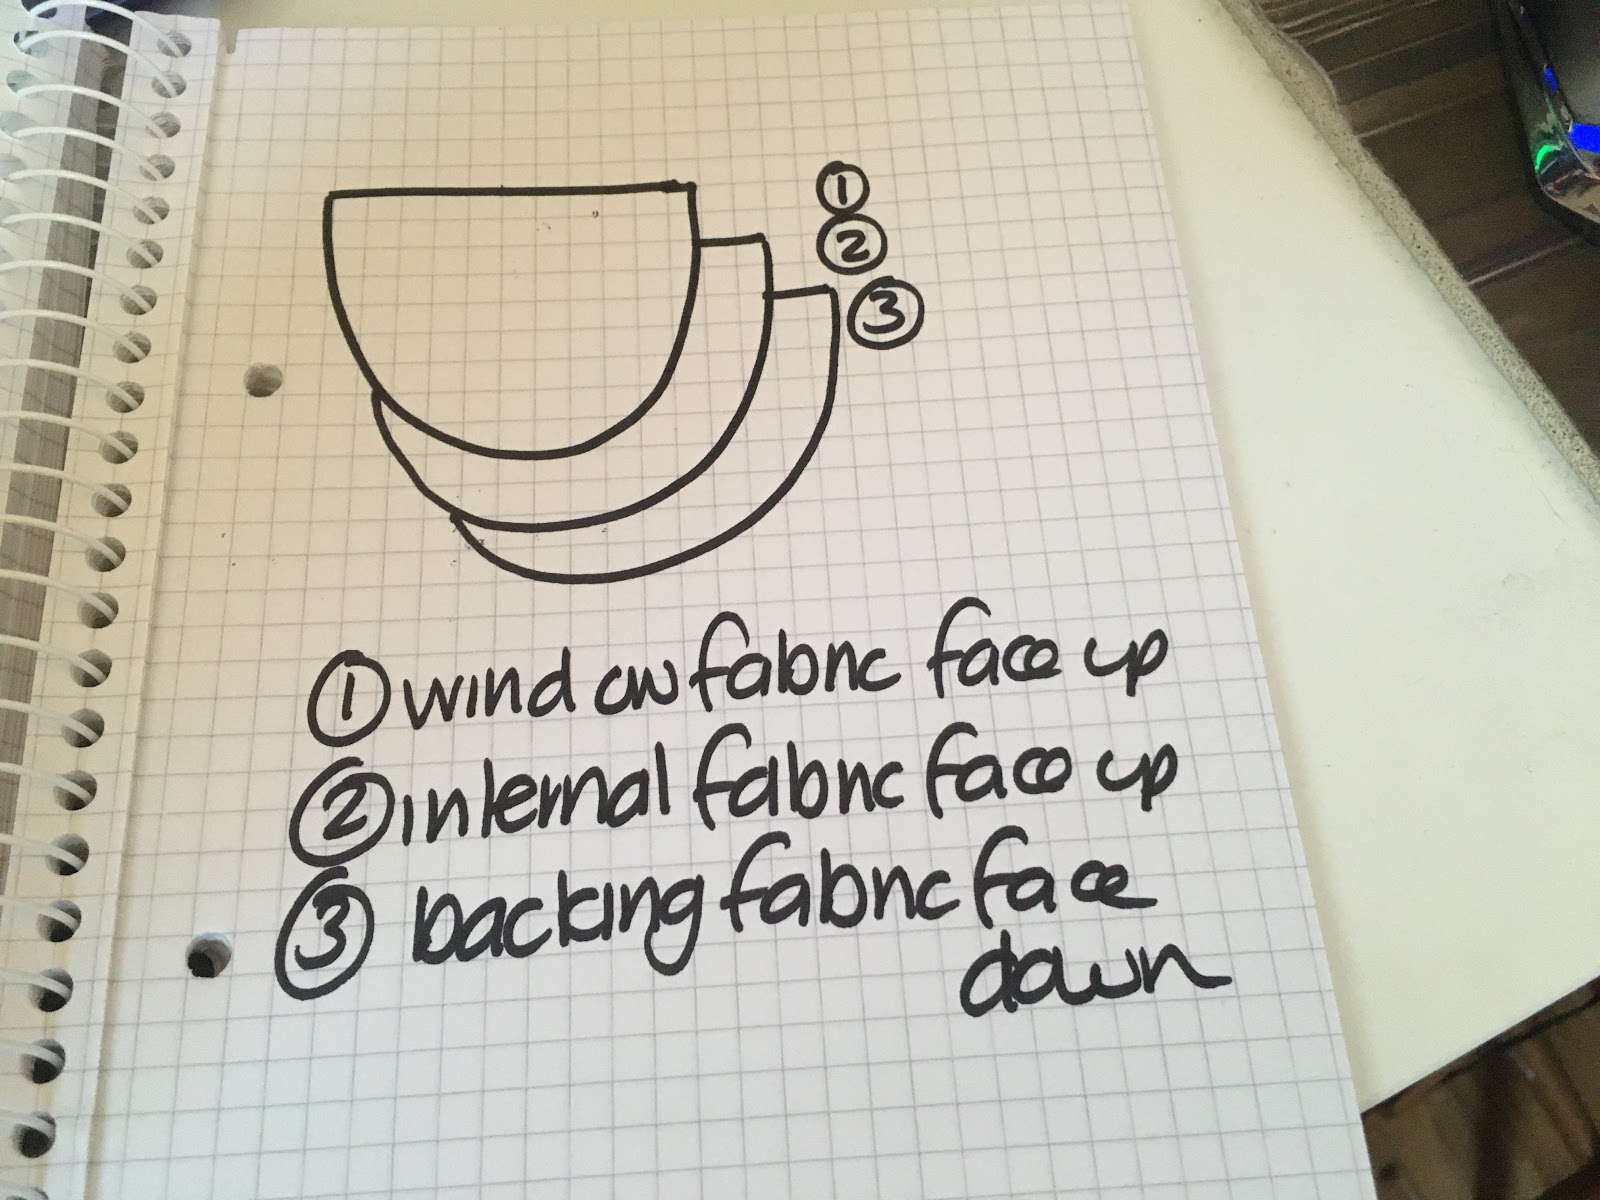
Transfer paints. These are now in plastic bags with some fabric. If you don’t mind can you pour or pippet small amounts of paint onto a plate or plastic egg cups, it’s best if they don’t get mixed in the pots! Get the girls to paint a picture (no words, we are going to end up with a mirror image of their picture. They can use paint book sheets or pictures printed from the internet. Start with smallish images so it will fit under the iron in one go. When the paint is dry set up the ironing board (groan if you like but a bit of magic is going to happen so it’s worth it!)
Get the girls to put their image face down on a corner of the fabric supplied and press for a count of (can’t remember, maybe start with 10) on a synthetic (or 1 dot) heat. Pressing means put the iron down and count - don’t move it around. If it’s a big pic you’ll need to lift the iron and put it down again. Prepare to be amazed. And now move the picture to another corner of the fabric and press again. More magic! I have more synthetic fabric if you need it.
Paper dolls - some to cut out and colour in clothes (maybe stick to cardboard first for rigidity) and some to draw on - maybe draw friends or family and make bunting for the bedroom (use needle to sew them onto a length of wool - it’s best it you can do an in and an out on each head or shoulders to stop them turning sideways
Sewing - gulp! I know you are not fans but the older girls might enjoy it. Tips: I suggest using thread no longer than fingertip to armpit, BUT measure twice that, thread the needle then knot the two ends together (a loop knot- make a loop and push the ends through) now the girls can’t keep unthreading the needle.
But when they have about the length of their hand left of thread they need to stop sewing and tie off this thread. To do this sew a *tiny* stitch and before you pull the thread all the way through push the needle through the loop then pull tight. Repeat. Cut the thread at least two fingers width from the end.
The
wooden sticks with the notches can be pushed together in a kind of log cabin method - a left and a right then an away and a near. They can made a good sized box - glue or otherwise join the coloured sticks to make a base
Loom weaving- both looms have been warped (set up) and started. The principle is that the wefts (the bits you weave in) go under-over-under-over, and if it went
over last time it goes
under this time. (See the bit I’ve done for you).
Don’t get stressed if the girls don’t get it 100% right it won’t matter. The wooden block is to slightly raise alternate warps, and the a slight twist raises the other warps. I find it annoying but they might find it helps. If they find it confusing seeing the other warp threads you could put a sheet of paper over them. One set has a wooden shuttle to help pushing the thread through the other has a plastic needle in the box. The weaving needs to be pushed to the end every time to keep in tidy. One kit has a wooden comb type of thing, the other will need to use a fork or similar.
These
card templates are great for weaving or embroidery. You have a weaving example each and see the pic for embroidery - they could weave a person (add separate arms and legs - the red one has arms) or embroider their name (and friends’ names?) or a star or just in one hole out of another with different colours. (There are plenty more if they are a success)
Hole punch sets: you have one collection each - feel free to swap as one has alphabet and the other has shapes. The girls can cut the designs along the edge of a piece of paper (bookmarks?) but can also use the bits they have cut out to stick on things
Tiny photo frames - they can decorate the frames and either cut faces out of old family photos, or draw a tiny pic to put in the frame
Foam stuff - a few bits in each box - stick stuff onto the foam - pritt stick should be fine. However tempting it is, try not to let them use felt tip pens as they don't dry on the foam and therefore smudge forever! I've chucked in some felt flowers - dismantle the flowers and you have some felt petals they can stick on
Hema beads - I’ll pick this up when I next go to church. pic to follow.
arrange the beads on the pegboard - there are a couple of books of ideas and the girls can create their own designs. Once its finished *carefully* move the board to the ironing board.
using greaseproof paper on top of the design iron it. You will see through the paper that the beads start to melt and fuse together. Once the top looks secure give it a minute or two to cool a bit then pull gently way from the board. Flip the design over and press from the other side and melt that too to make it more robust (once they break repair is nigh on impossible). It will be too hot for the kids to touch yet. If it starts to curl press again with the iron and then put a book on top to flatten They can be used as drinks coasters or hung with thread in the window
"Latch" Wool rug
Long term project but it may interest at least one of the girls
Work from the front - push the crochet hook through a hole and hook the middle of a bit of wool. Pull it slightly through the hole. Release the hook now push the hook through the loop of wool, and down through an adjoining hole, hook the tails of the wool and pull up through the hole and through the loop. (
https://abeautifulmess.com/2012/11/diy-latch-hook-rug.html explains, but uses a proper latch hook at we don't have one. If it's too slow they could use the base fabric and weave lengths of wool under-over-under-over using a needle


 so I stitched it out at home for her