Showing posts with label zip. Show all posts

Wednesday, 13 October 2021

2021 Week 41 Semi Circular Pouch

 I think I've cracked it!

Use a suitably sized plate to mark a circle and cut out of fabric, (fussy cut if desired or appropriate)

Cut circle in half and add a piece between the two halves to add about 50% to the size.  Cut fusible wadding and lining to the same size, assemble together as a sandwich and quilt as preferred


Use a zip at least as long at half the perimeter: trim the ends off in a deep V shape, sperate the two sets of teeth, and pin one set RST to cover half the extension and the curve.,  Repeat with other teeth and other half of pouch.  Stitch 


Stitch bias binding over the raw edges.  I used 1/2" (that finishes at 1/4" when folded) and zigzagged it over the raw edges and the zip tape

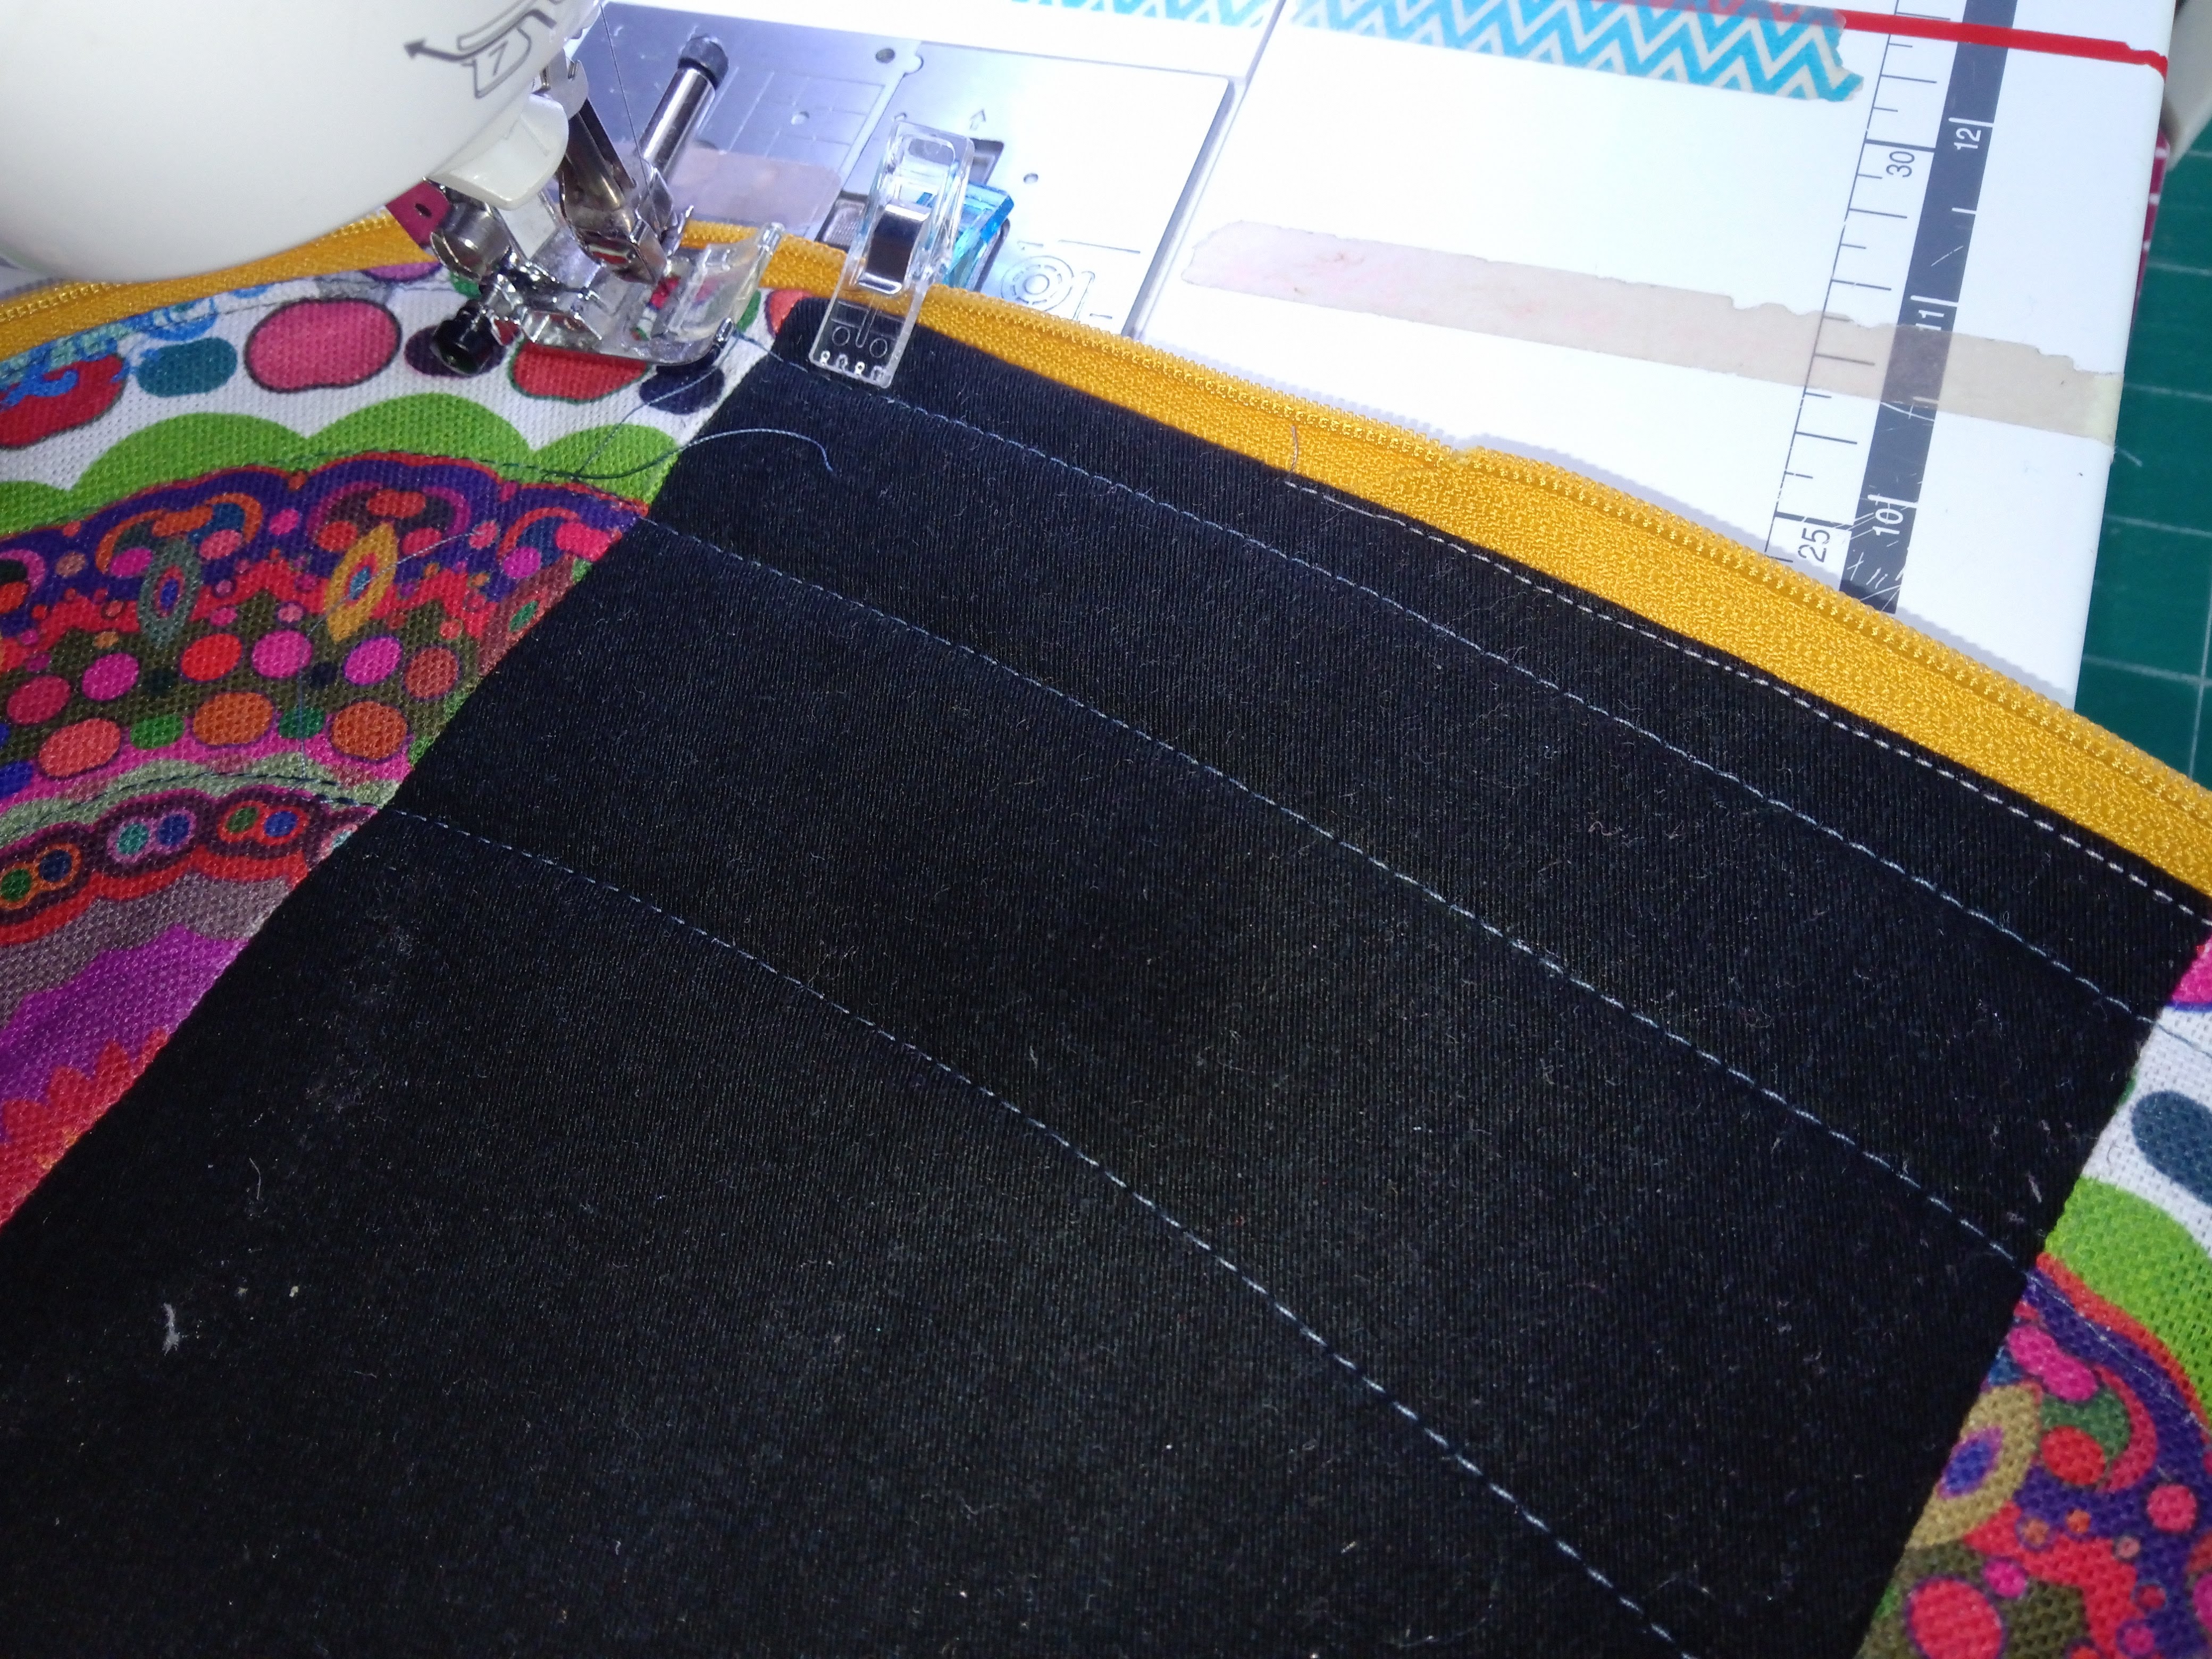
Turn the zip tape and bias binding into the bag, pin and topstitch.


Add the zipper pull so it can be used and is even (see this page for more detailed instructions), and zip 90% closed.


Cut 1.5 inch square from the corners of the bag (making sure the pull is on the remaining bit of the zip

Clip or pin the zipper ends so the pull cant escape, and then turn inside out


Wide mouth frog bit (a favourite book when the girls were little)

Gently push the folded bit and the zipped bit together


until they meet in a straight line

Now sew along this line to close the bag, and also (if required) cover with bias binding

Turn the pouch the right way out and admire!!!


Sunday, 10 October 2021

2021 Week 40 - changing (or adding) a zip pull

I like to chop and change my zips - sometimes I will have contrasting sides to the zip, and sometime I will add a different coloured zip pull, or maybe add more than one.

Here is how: (you need a zip a bit longer that you need for the project as we need to cut some off)

EDIT - the full instructions are for a curved zip - if you want to use the zip on a straight pouch or for a pocket just use the relevant instructions shown in bold

Cut the sealed end into a deep V.  It will help if the two sides don't quite match


Slide the zip pull onto the longer side and pull it down to where the teeth / tracks on the shorter side start.  The teeth / track needs to go into the wider tunnel

without nudging the first side, slip the teeth on the shorter side into the other tunnel

Grab both pointed ends of the zipper tape firmly in one hand

And pull the zip pull onto the tracks.

Test by zipping up the item you are making

If it doesn't sit right you might have started the second lot of teeth too high or too low - sorry, you need to take off the zip and try again (and again and again) until it is right

If you want to have two pulls on the tracks you need to know that tracks going into the wider tunnel will lock together and tracks going into the narrower tunnel will unlock, irrespective of what state the tracks are already in.

On this project the pulls could all be added from the same end: pulled left the zips close their sections, and pulled right they open it.


But sometimes you want to be able to use a pouch differently - so you need to add a pull from each end


In other words this one went wrong: as I pull down the zip pull (so the tracks enter the wider tunnel) the tracks will open even though they are already open (I added both pulls at the same end - Doh)


Flipping annoying, but that's why I've written these instructions so I *might* be able to do it correctly next time!!!!


Wednesday, 23 December 2020

2020 Week 51

 This dotty paper foundation pieced quilt was finally finished this week


The binding was black (with small white dots) onto black fleece - I'm glad that's finished, it was really difficult to see where each stitch was 


The upteenth attempt to start my crochet spiral circle is actually working!  As I cant start a crochet piece I'm in the hands of others as to how it's going top look, but Lisa made a great choice in the style of this one - I'm using the variegated wool and the cream wool together!

My friend Louise had her first baby, Jessica, the same day I had Lisa - that's actually how we met - in adjoining beds.  We used to see a lot of each other but over the last 29 (!) years life has moved on so its less frequent but it's always a joy to see her and her three girls.  Grandchild number 3 has a feeding issue and has to be tube fed . . . could I find a way to add front / belly zips to baby vests so the port can be accessed.  I started with creating a lined opening and trying to add the zip to the front but it was a lot of fiddling ... so for this one I added a second zip put to the zip, stitched it on the outside, then opened the zip and cut away the now unnecessary fabric behind it - took about 5 minutes!  It's gone in the post to them - if it works for them I can easily adapt other vests for baby M

Louise's second daughter, Claudia, is my God Daughter, and she has just become a mum - baby William was born earlier this week.  This EPP quilt seemed a perfect gift - with three big cousins who can use the fussy cut hexies to invent stories for him!

So I've added his name and this has gone in the post too!


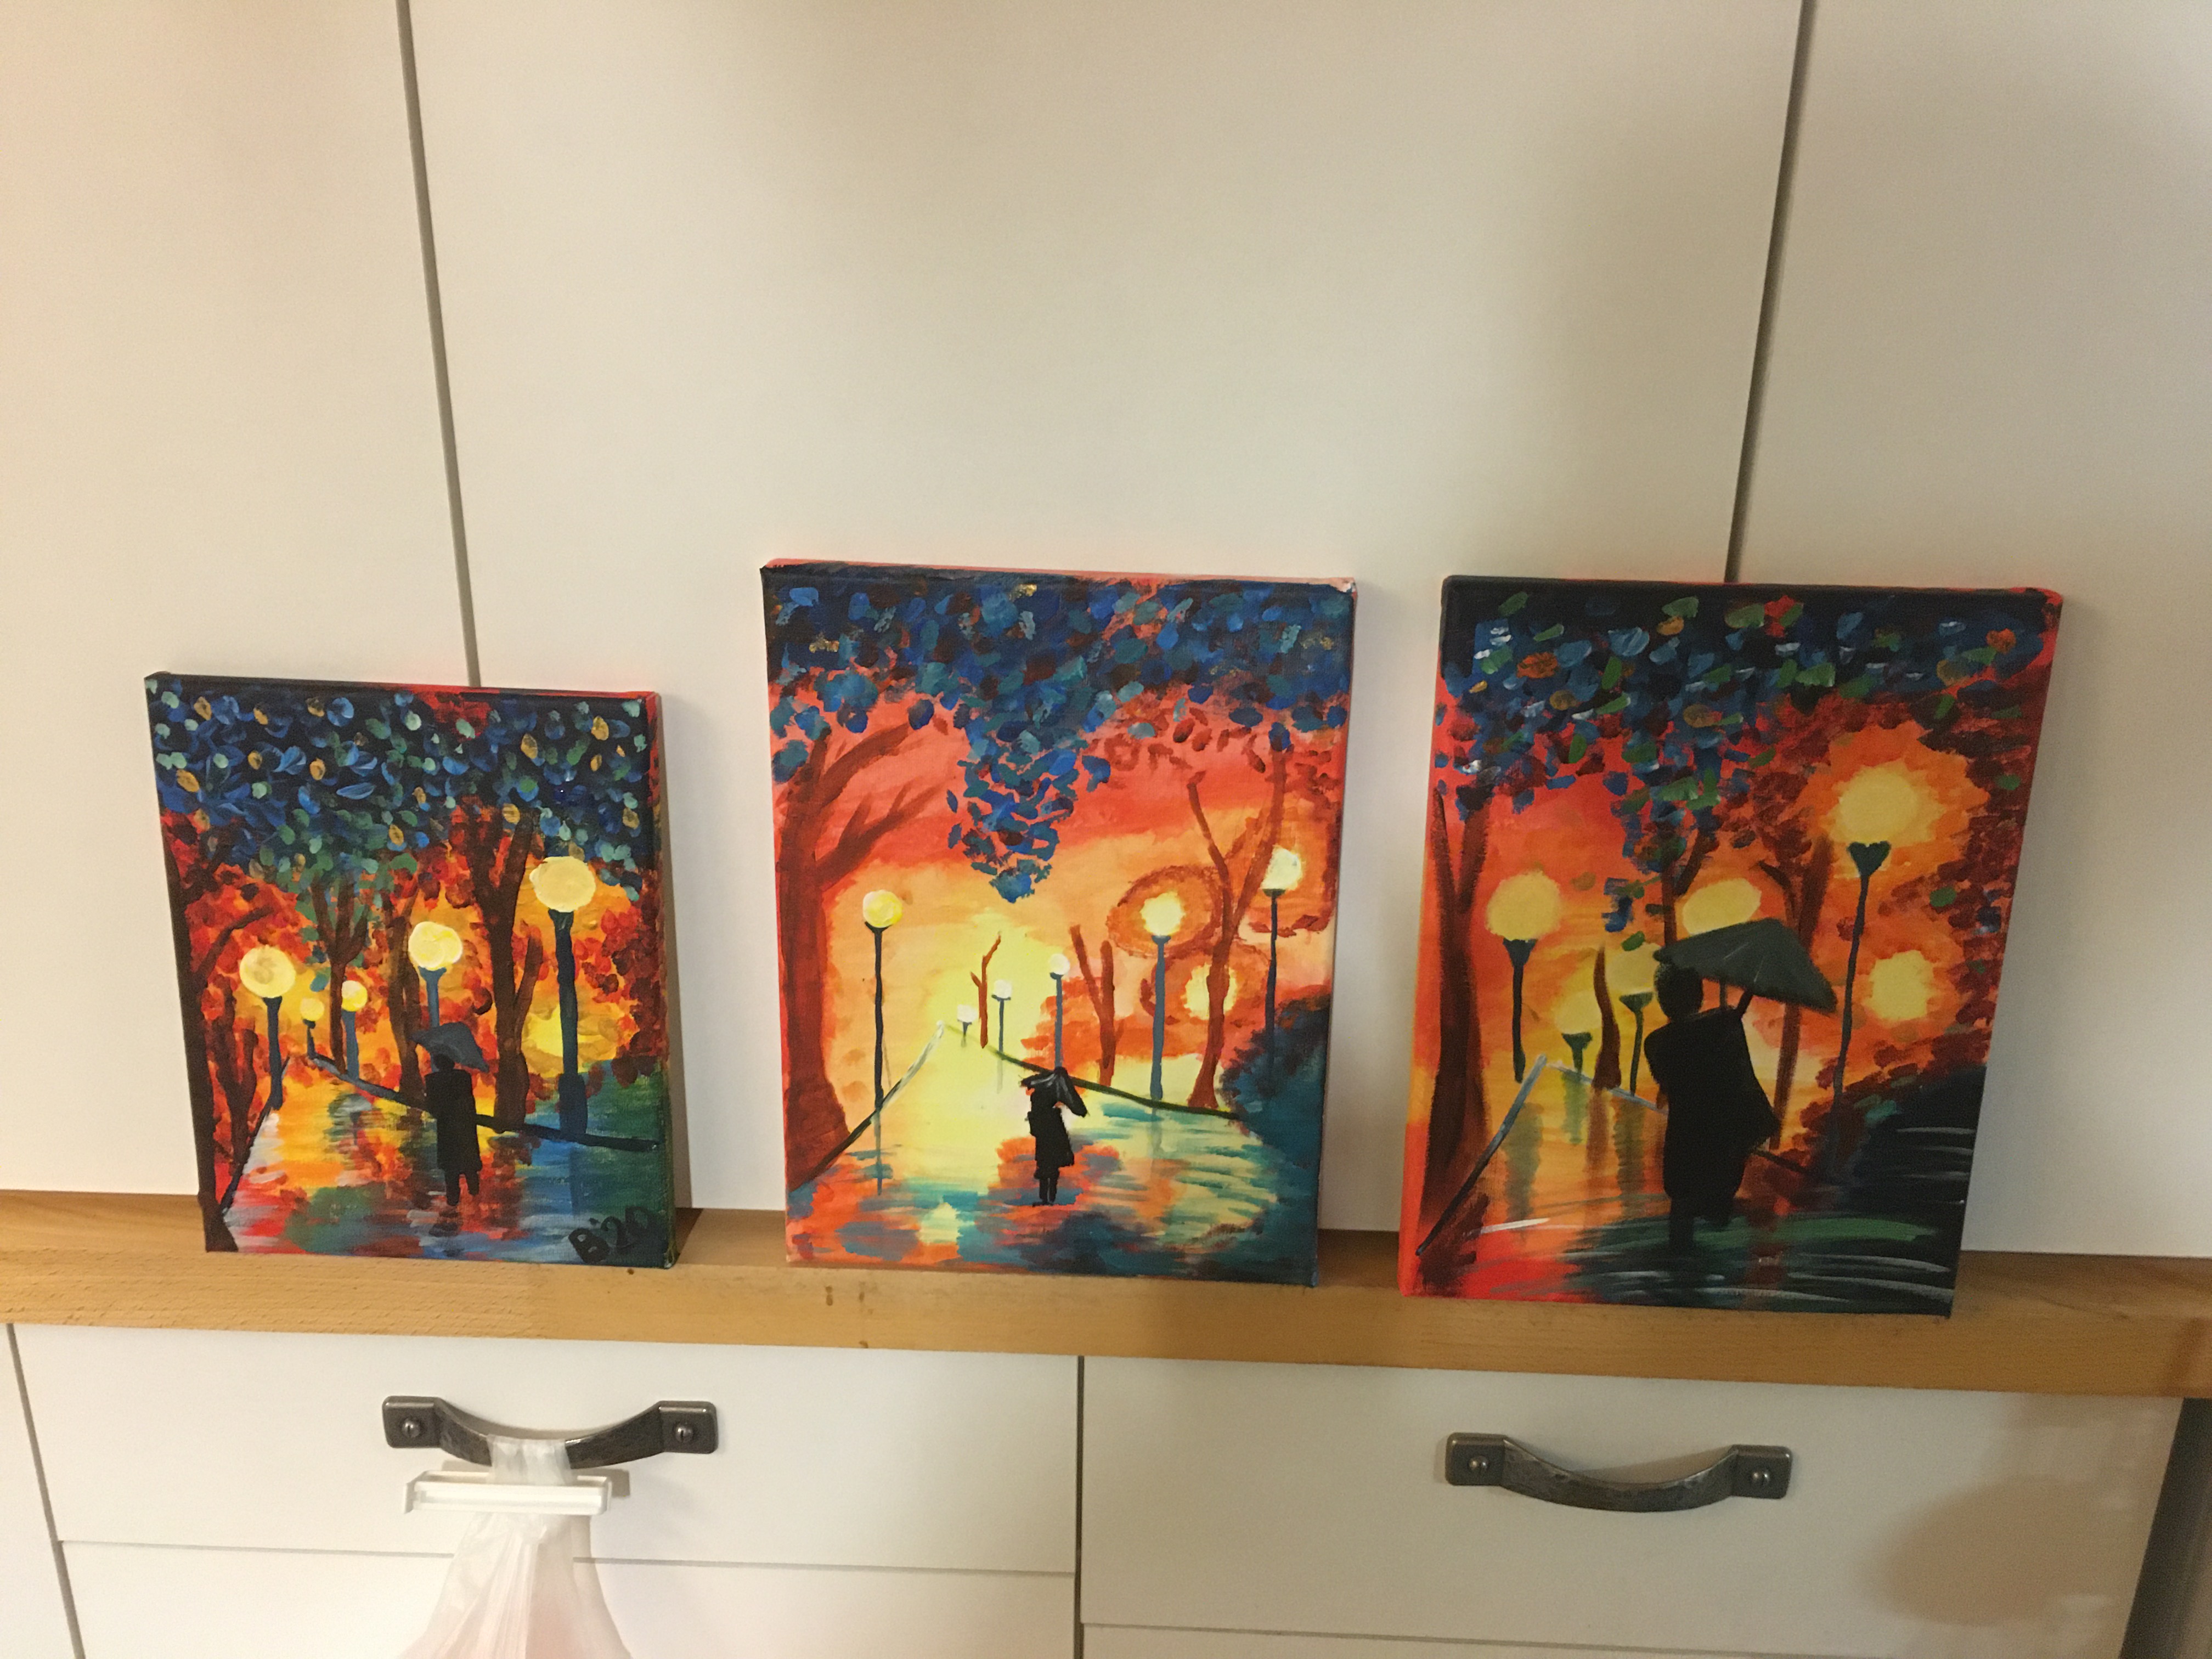
The girls and I did another on-line Brush Party painting class - it was great fun but we are not natural painters so would like to do one with a real life person - when ever we are allowed to!!!  Anyway, I don't think these are too shabby!!!


A very good friend of mine is Jewish.  She ordered a few Christmas gingers from me: I added a Hanukkah ginger for her - just mixing my faith and non faith celebrations!!!!

More Gingers - these went to Manchester to my childhood best friend (I love that we've reconnected through Facebook!)

For a quite week there seems to have been a lot happening!  It was mum's birthday last weekend - but we were not allowed to meet in a home so we agreed to meet for a walk and a picnic - come the day it was *pouring*, so we chucked the gazebo into the car too and used the boots of the cars as seats!

A birthday we wont forget in a while!!!  Mum enjoyed it!


Nat used the Elf Ginger costumes

My friend Jane crocheted me an awesome Julenissen

And Barbara made me a mask with a matching zippy - isn't it great!!!!


If I'm not in touch with you before "the" day - I hope it's a great one even if it's not what we hoped for and we cant see the people we want to see, but by doing the right thing this year we can see each other next year.

Lots of love xxxx 

Sunday, 22 March 2020

2020 Wk 12 - Zip zip zippy day

we were not able to hold Crafty Church yesterday, but I did go and open the church for a time of prayer and reflection, and so I could use the doors/tables to plan a customer's quilt.

All planned now so I can start sewing

I may have done some shopping!    I do have a weakness for pre-wound bobbins and was delighted when I found a UK based site selling them.  Not only much cheaper on postage, but the USA site had pages and pages of machine manufacturers and which bobbin size . . . but my machines weren't on the list.  At www.embroideredjust4u.co.uk, she just listed 4 choices for Brother - nice and easy!

So I treated Lizzie to black bobbins and some pretty colours, and the sewing machine (which doesn't have a name) to a whole load of colours!

Two of the classes that have had to be postponed were for a zippy pouch - one was a machine class and one was hand sewing, but both needed samples, and my hand sewing ladies don't mind if I machine sew a sample for 'their' class.

My problem is that I wont remember the construction methods when I don't to teach these so I am saving my sanity by recording the methods along with the photos here!

The instructions are very "short hand", but if you do want more info just zap me a comment or email

Curt a piece of vinyl into a square or rectangle about 1/2 inch bigger than the size you want the pouch.  Cut the vinyl into 2 where the zip needs to go: could be 50/50 but I usually go for about 1/4 and 3/4 sections.

For all the methods you need to attach the zip to vinyl fabric using favorite method resulting in at least 1/2 inch fabric on both lengths of the zip.  I use this method (use instructions 1-7 here) -   Cut strips of fabric 2" wide fold in half, press, fold edges into the middle, press: you now have zipper binding 1/2" wide

Tuck the edge of one piece of vinyl into to the opening until it's flush with the back, pin or clip in place.  Place on top of the zip tape and sew through the zipper binding, the vinyl and the zip.  repeat on the other side of the zip so the vinyl is now once piece with a zip in it.

Cut internal fabric and external/backing fabric pieces the same size as the prepared vinyl.

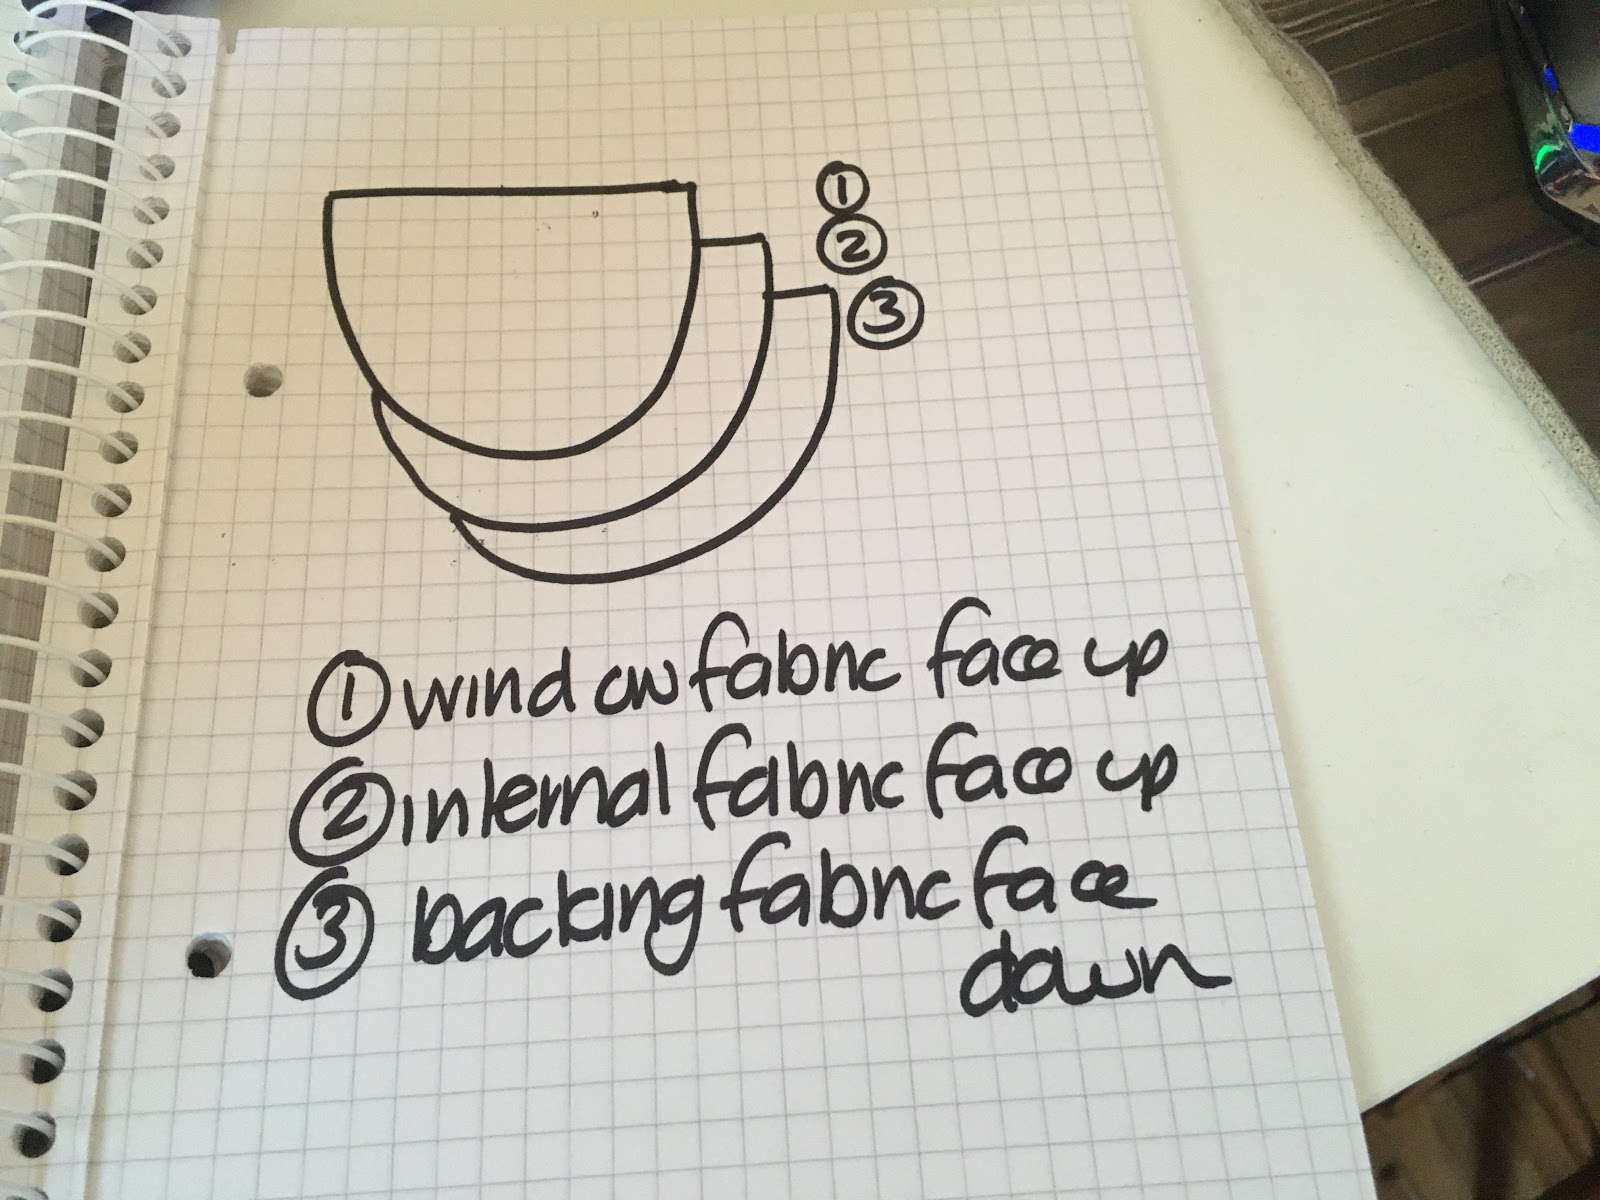
Layer fabrics as shown (but so edges match), pin in place

Non- Bias Binding method
Cut length of non-bias binding equal to perimeter plus 8".  Bind as for a quilt.
 

Bias Binding method
As above, but round the edges of the pouch and bind with bias binding gently easing around the corners

Birthing method (full vinyl front)
Stitch all the way round but leaving a 6" gap for birthing
 

Birthing method (bordered vinyl)
I prepared the vinyl/window piece by adding a border to the vinyl, then slicing into the fabric border and adding a zip
 

The birthing method pouches have not been finished so we can look at them layered up in the class.  When birthing remember to turn by putting your hand in where you can feel the zipper pull and turn that section to the outside.

Friday, 9 August 2019

2019 Wk 32 - mostly Kantha stitching

I have been finishing some projects ready for the village fair at the end of the month but have also been happily losing myself is stitching smaller portable projects just for fun.  The EPP sewing machine has started to be quilted with kantha stitches.  Defined as ".Kantha stitching is ...used to make simple quilts, commonly known as Nakshi Kantha. Women in Bengal typically use old saris and cloth and layer them with kantha stitching to make a light blanket, throw, or bedspread, especially for children." I think of it as stitches you don't need to think about: long or short, a bit wobbly, not quite parallel, not evenly separated. . .  who cares!

I am using the same dark colours for the stitches as are in the blocks, so it is fairly subtle

but you can see how far I've got looking at the back.

I also have worked on this piece: the Chertsey Museum ladies were making hanging pods this month, and I got the urge to Kantha mine to the nth degree!  This is the back

This is the front (we are calling the yellow a design feature not a I-didn't-have-enough-black-fabric-error!)

And this is the finished pod. 
Love LOVE LOVE it!!!

The ladies didn't get theirs finished so I am looking forward to seeing them at Show & Tell next month

I have finished the EPP-without-the-paper hexies, and have quilted the front much more than I would have done had it been any bigger!  I'm planning on  a few bigger EPPWP hexies for the other side so I guess I'll have to quilt that too then I can put it all together

I did make and finish this one though.  It's a lovely laminated fabric I got from Sewing Sanctuary at FOQ - she has designed the fabric, and had it laminated: it's lovely and soft.