I have made all my blocks and have stitched them together in rows, and checked they are all still correct, and have numbered them. Now I can Quilt as I go. For this tutorial, I am working on a quilt with 6 panels. An odd number of panels is slightly different (*).
Prepare the other layers of the quilt. If this is backing fabric and wadding (batting) put the backing fabric face down on the table, smooth out any creases and put the wadding on top. (you can use spray adhesive to hold these together, pins, safety pins, tags, or trust) If you are using fleece, put the fleece on the table nice side down, and smooth the fabric.
Find and mark the middle of the backing. Place a pin at the middles of the edges. Take your two middle strips (numbered 3 and 4 in my example), and place the lower numbered one (ie 3 in my case) 1/4 inch past the middle.

Pin the next strip (number 4 here) to it, along the centre of the backing, matching the seams.

Open out the new strip and double check that the pattern is correct. Stitch, making sure you use locking stitches at either end

Press open, and now add strip 2 to strip 3 and strip 5 to strip 4 in the same way, finishing by adding strip 1 at the beginning and strip 6 at the end. Press open

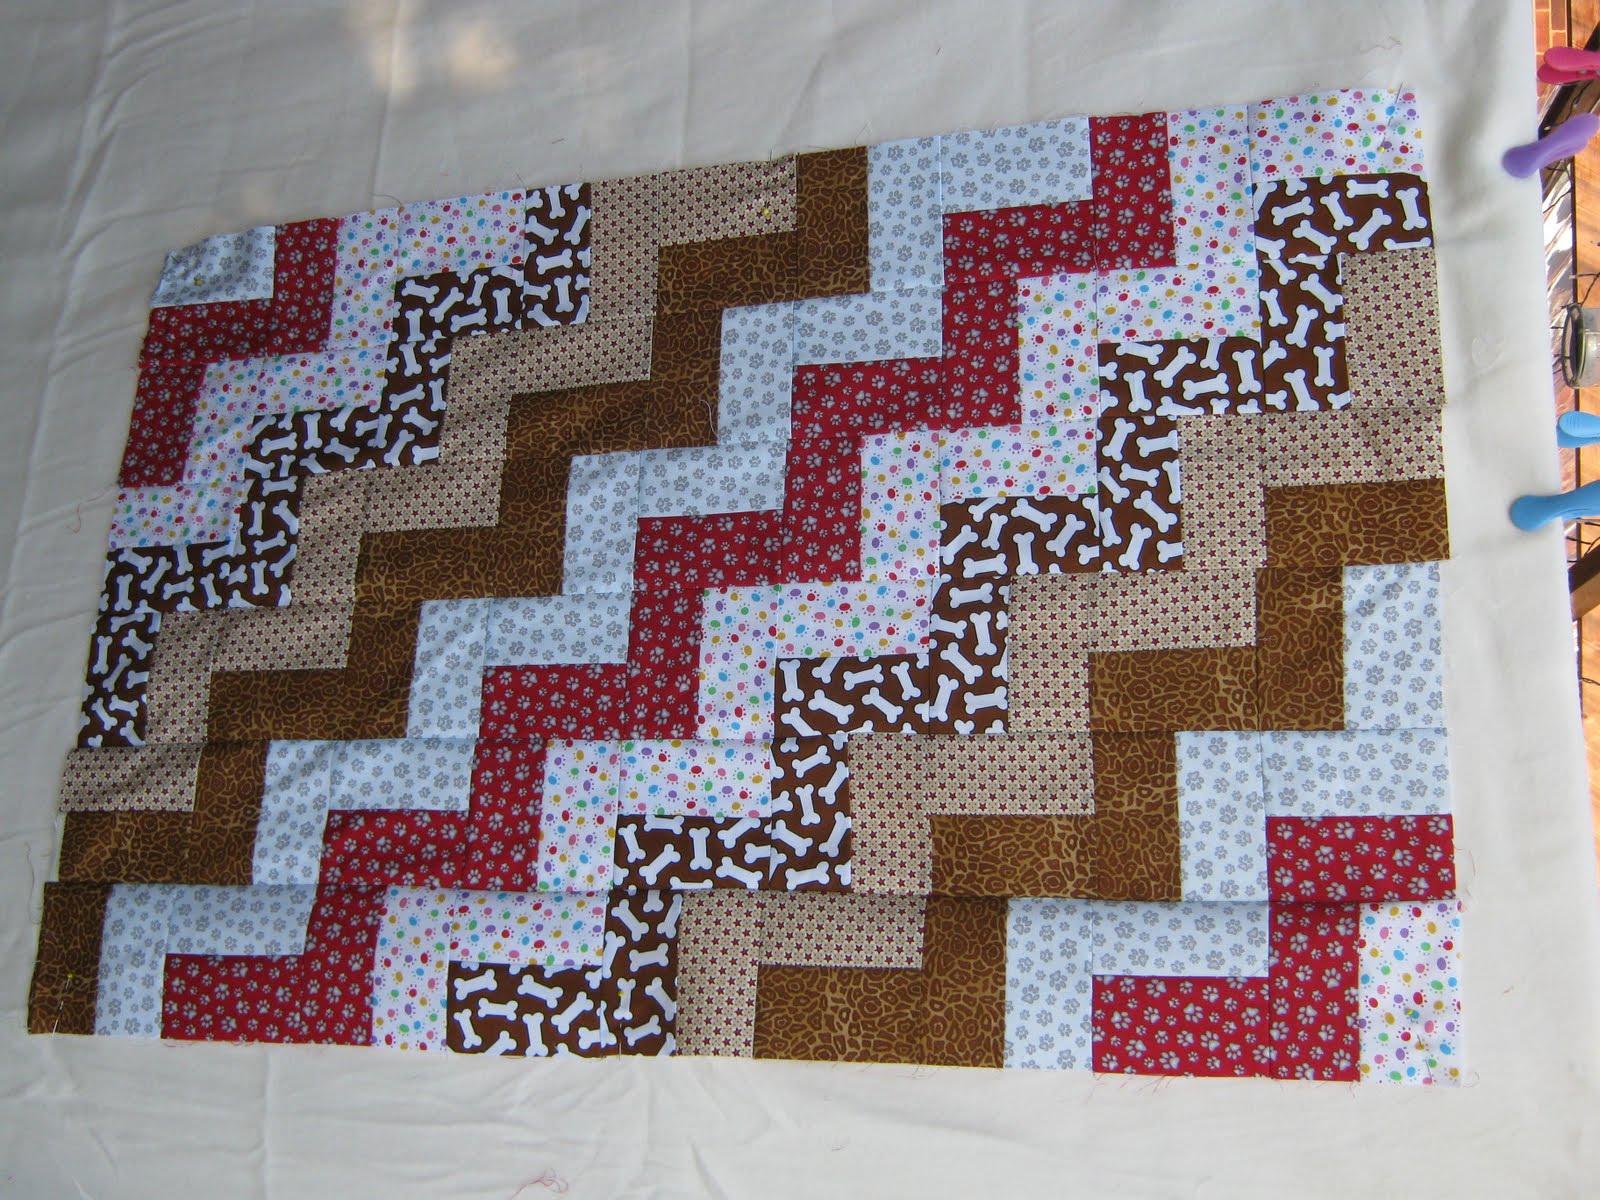
The following photo shows the back. You can see the stitch lines running from left to right - well that is the first half of your in-the-ditch quilting done. All you now need to do is whizz along the other seams (perpendicular if we are being pedantic!) and the whole piece has been quilted in the ditch and you can now get on with adding your borders :-)
From mini jelly roll to this took me a morning - so quick and so satisfying
Enjoy!!!
 (* for an odd number of strips, position the middle one down the middle of the backing, and pin the strip immediately before it and immediately after in into place. Stitch and continue as above)
Fab tutorial - I must try this!
ReplyDelete