1. Assuming the mini jell roll has two of each colour, arrange the fabrics into two identical piles: light / dark / light / dark etc. (if there is just one of each fabric, cut each length into two shorter lengths.)
 2. Start to join the strips lengthwise: join fabric 1 to fabric 2, then from the other pile, join fabric 2 to fabric 3, then back to the first pile to join 3 to 4 etc, until you have the last fabric and the first one left: join these
3. Press all pairs towards the darker side. (I put the folded pair down, dark side up, seam away from me, and then lift the dark side like a page in a book, and use the tip of the iron to lift it further and press the seam)
4. Measure the height of your pressed two-colour strip. This is the measurement of your eventual square. Mine were 4.5 inches high, so I cut each strip into 4.5 inch squares

5. Lay out the squares so they start to build up the zigzag pattern. First I worked diagonally, which would give a straight zigzag,

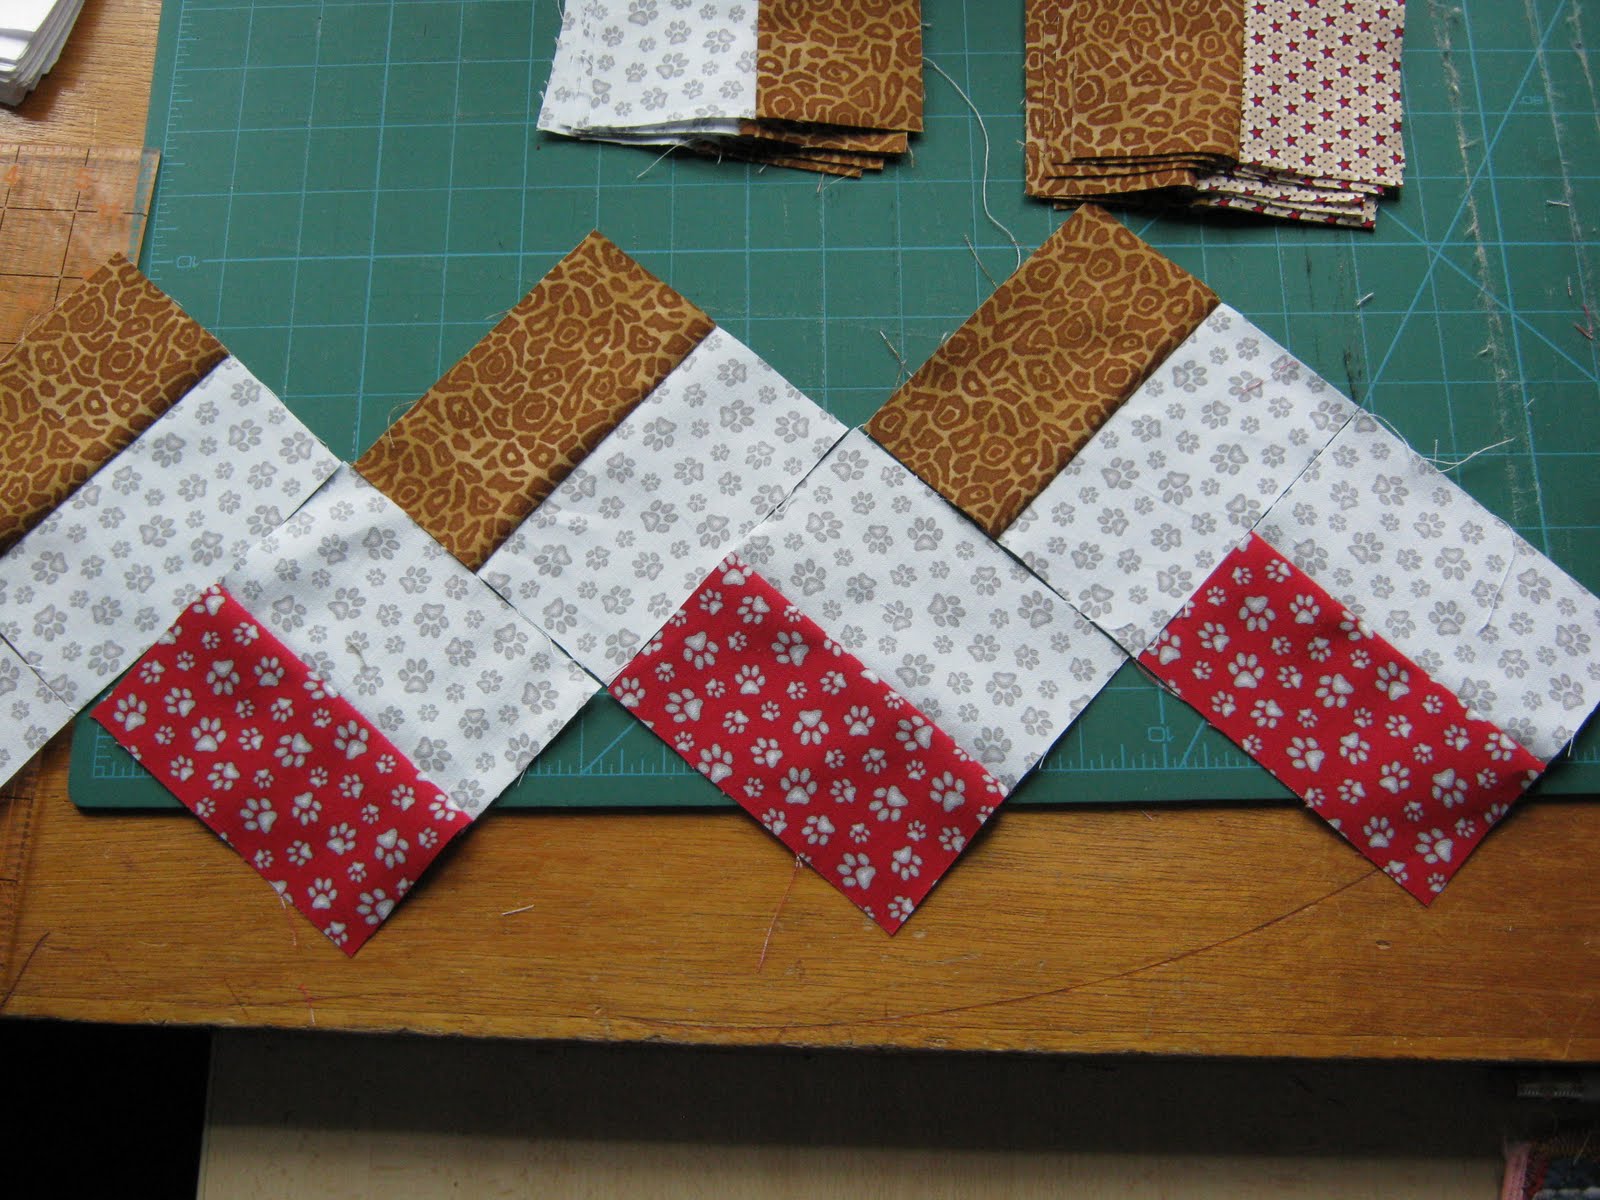
 but unless I wanted a zigzag edge to the quilt, I would have to trim off the triangles, and I didn't want to waste any fabric. Instead, I turned the squares so the zigzag runs diagonally, but the squares didn't need trimming (clear as mud? They say a picture is worth a thousand words)
6. Once you are happy with the arrangement, pin the squares in rows, each square to the one above and the one below. Put the strips back in the right order. Check and double check they are all correct (guess why I suggest this!)
7. Pin a number to each strip so you know its place for later

8. Stitch all the squares as pinned, and press to darker side
 9. Pin all the strips together in the right order (unless you are using the Slik and Quick quilt as you go method)
10. Ta da - one pieced zigzag quilt, no triangles, and no fuss ;-)

It would be great if there was a video to watch!
ReplyDeleteThanks,
Suzy