I think I've cracked it!
Use a suitably sized plate to mark a circle and cut out of fabric, (fussy cut if desired or appropriate)
Cut circle in half and add a piece between the two halves to add about 50% to the size. Cut fusible wadding and lining to the same size, assemble together as a sandwich and quilt as preferred

Use a zip at least as long at half the perimeter: trim the ends off in a deep V shape, sperate the two sets of teeth, and pin one set RST to cover half the extension and the curve., Repeat with other teeth and other half of pouch. Stitch

Stitch bias binding over the raw edges. I used 1/2" (that finishes at 1/4" when folded) and zigzagged it over the raw edges and the zip tape


Cut 1.5 inch square from the corners of the bag (making sure the pull is on the remaining bit of the zip

Clip or pin the zipper ends so the pull cant escape, and then turn inside out

Gently push the folded bit and the zipped bit together


until they meet in a straight line
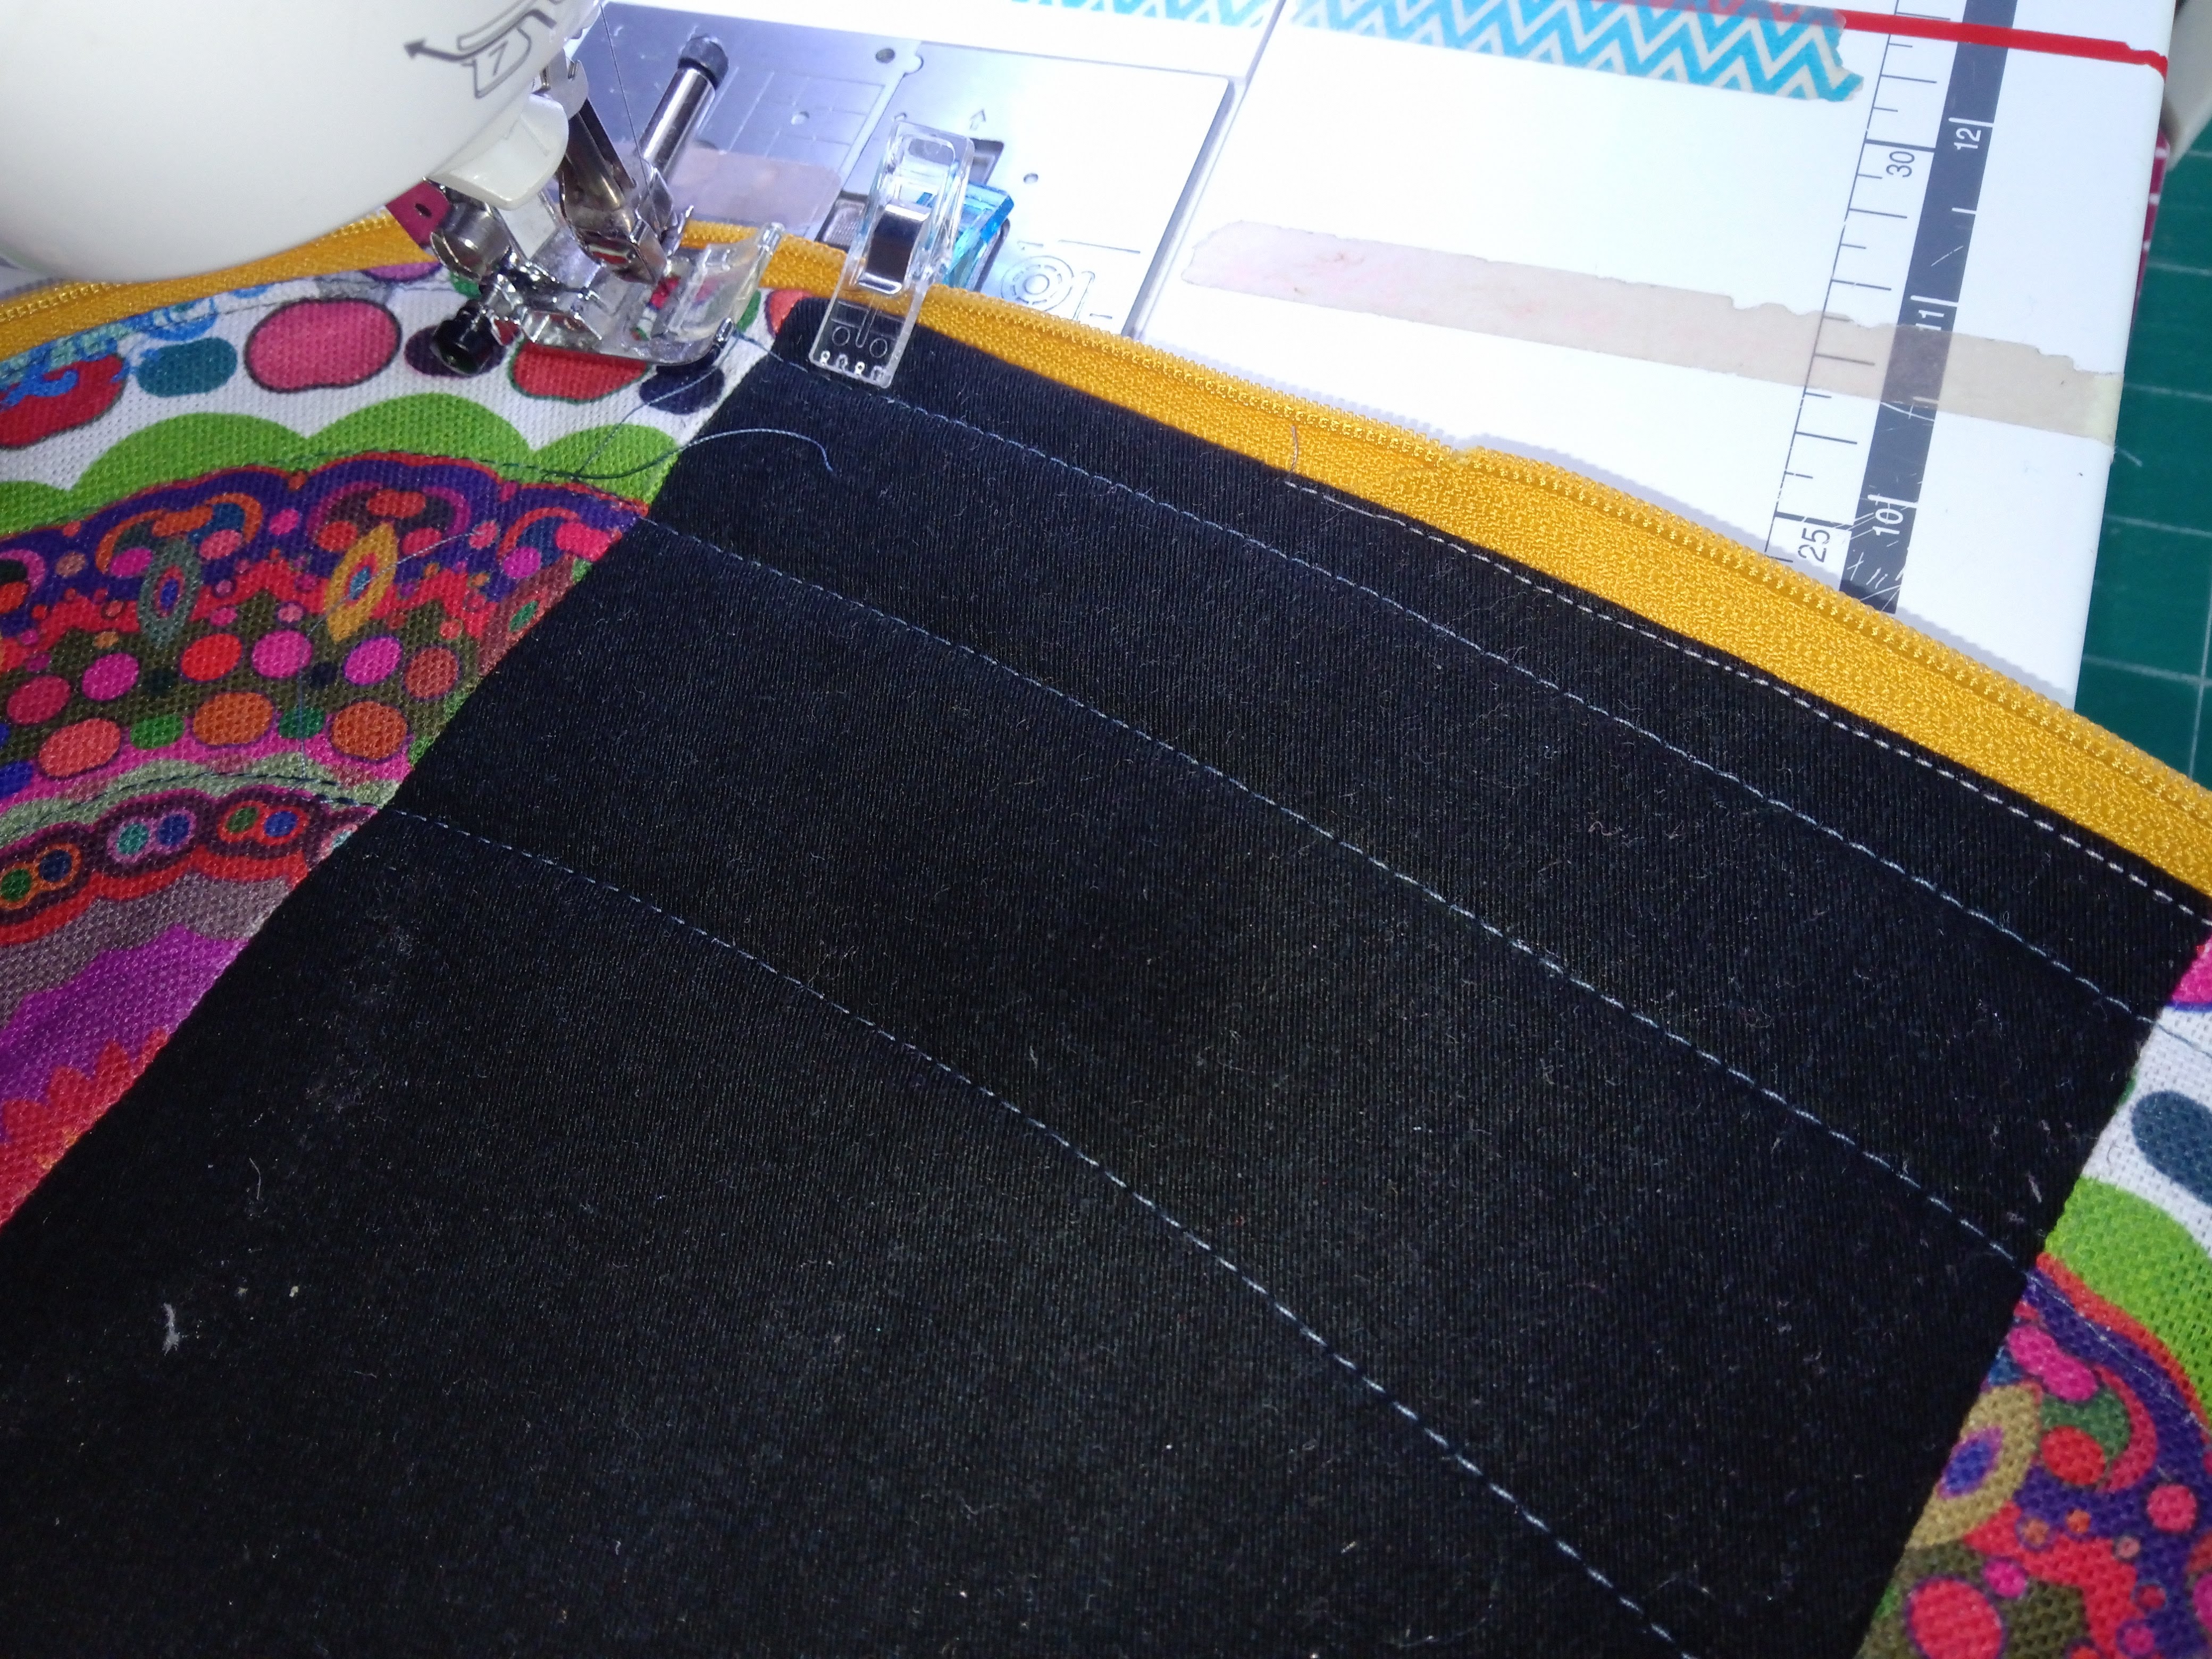
Now sew along this line to close the bag, and also (if required) cover with bias binding

Turn the pouch the right way out and admire!!!
Now sew along this line to close the bag, and also (if required) cover with bias binding


Nice! Such clear instructions and a good way of working too! xx
ReplyDeleteGreat pouch! Got to love one that sits properly.
ReplyDelete